


With the advancement of FDM 3D printing technology, printer like the Flashforge 5M series have become increasingly user-friendly. For example, the 5M series now features fully automatic leveling and comes with the more intuitive Orca-Flashforge slicing software. These improvements mean that even a complete beginner can unbox the printer and start printing within 10 minutes. However, 3D printing is still a relatively new technology that requires some experience and knowledge to master, especially when it comes to working with various types of filament. Factors such as material quality, filament type, printing temperature, fan speed, flow rate, and model structure all play a role in achieving successful prints.
To help our users, particularly beginners, print high-quality models and enjoy the printing process, we’ll be regularly sharing practical tips and techniques. In this post, we’ve outlined four key tips that will help you get the best out of your Flashforge Adventurer 5M series printer. Whether you’re new to 3D printing or an experienced user, these tips will guide you through common operational challenges, offer technical advice, and provide insights into optimizing material usage.
Topics covered:
- How to Create a Time-Lapse Video Using AD5MP?
- How to Manually Adjust the Z-Axis Offset?
- How to Tell if You Need to Recalibrate Vibration Compensation?
- How to Operate Auto-Leveling and Vibration Compensation?
How to Create a Time-Lapse Video Using AD5MP?
We’ve observed through feedback from our user community that some beginners face difficulties or make mistakes when using the time-lapse feature, which results in failed video captures. To ensure you can successfully create a time-lapse video, follow these step-by-step instructions:
First, click the “settings button” to enter the camera monitoring interface. Then, click the video button to simultaneously activate the camera and video recording functions. The most important thing is that Make sure both buttons are turned on.

Next, you can proceed with the normal model printing operation. The camera will automatically capture images at intervals and compile them into a time-lapse video.
Once both features are activated, proceed with your usual 3D printing operation. The camera will automatically capture images at regular intervals throughout the print process, and these images will be compiled into a time-lapse video.
After your print job is finished, return to the camera monitoring interface, locate the video file, and select the model you just printed. You can then preview the video directly on the screen. To save the video, simply use a USB drive to export it.

By following these steps, you’ll have a complete time-lapse video of your print. Additionally, if you wish to view individual photos taken during the printing process, you can find them in the “Picture” section of the interface.
How to Manually Adjust the Z-Axis Offset?
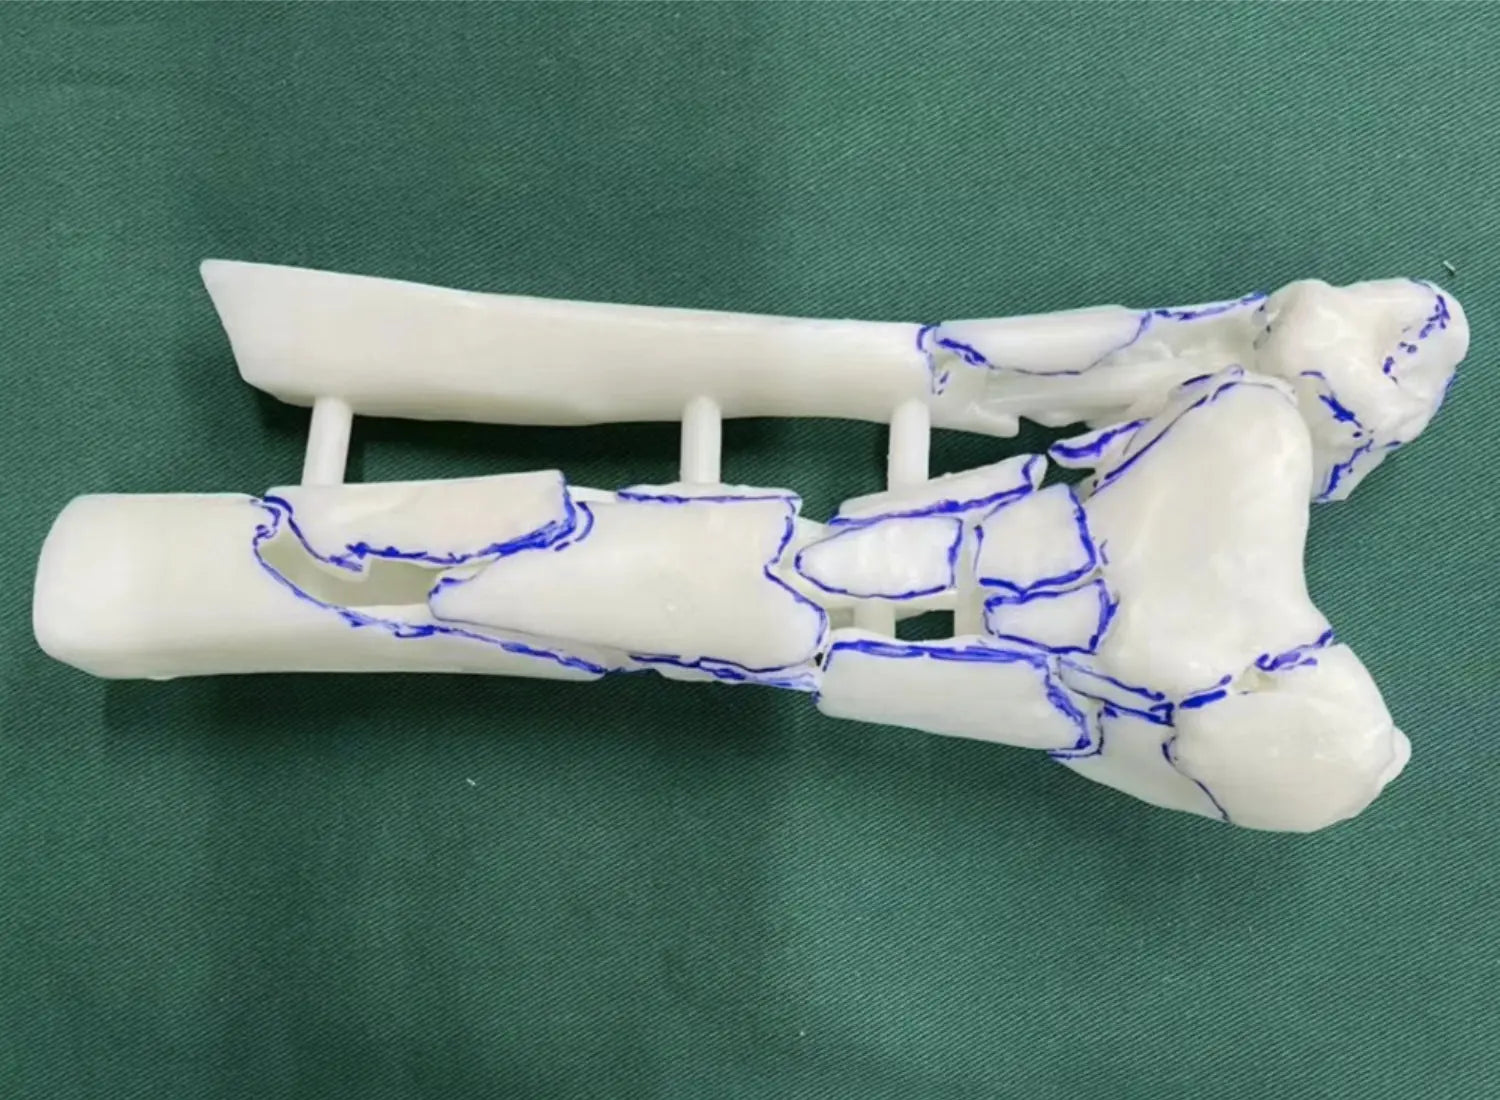
For users who are aiming for the highest print quality, achieving a flawless first layer is crucial. A perfect first layer lays the foundation for the entire print, ensuring that the model’s surface and top layers come out smooth and detailed. Although the Flashforge 5M series is equipped with fully automatic leveling, wear and tear on components over time, as well as inconsistencies in third-party materials, can sometimes affect print quality. After extensive testing, we’ve developed some basic operational guidelines to help you manually adjust the Z-axis offset during the first layer printing process. This adjustment can greatly improve your results, especially when working with different materials.
Here’s how to adjust the Z-axis offset manually:
- Start with a Test Model: Print a test model that has a large base so you can clearly observe how the first layer turns out. You might see one of two things:
- Evaluate the First Layer:
- If the first layer looks rough or squished, this indicates that the nozzle is too close to the build plate. To fix this, you can lower the Z-axis offset slightly.

- If the first layer looks sparse or has gaps between the lines, the nozzle is too far from the build plate. In this case, you can raise the Z-axis offset slightly.

The ideal Z-axis offset results in a first layer that is smooth, well-packed, and adheres evenly to the build plate. Once you’ve achieved this optimal setting, click the checkmark to save your adjustment. From that point on, the printer will automatically apply this setting to future prints, ensuring better quality results every time.

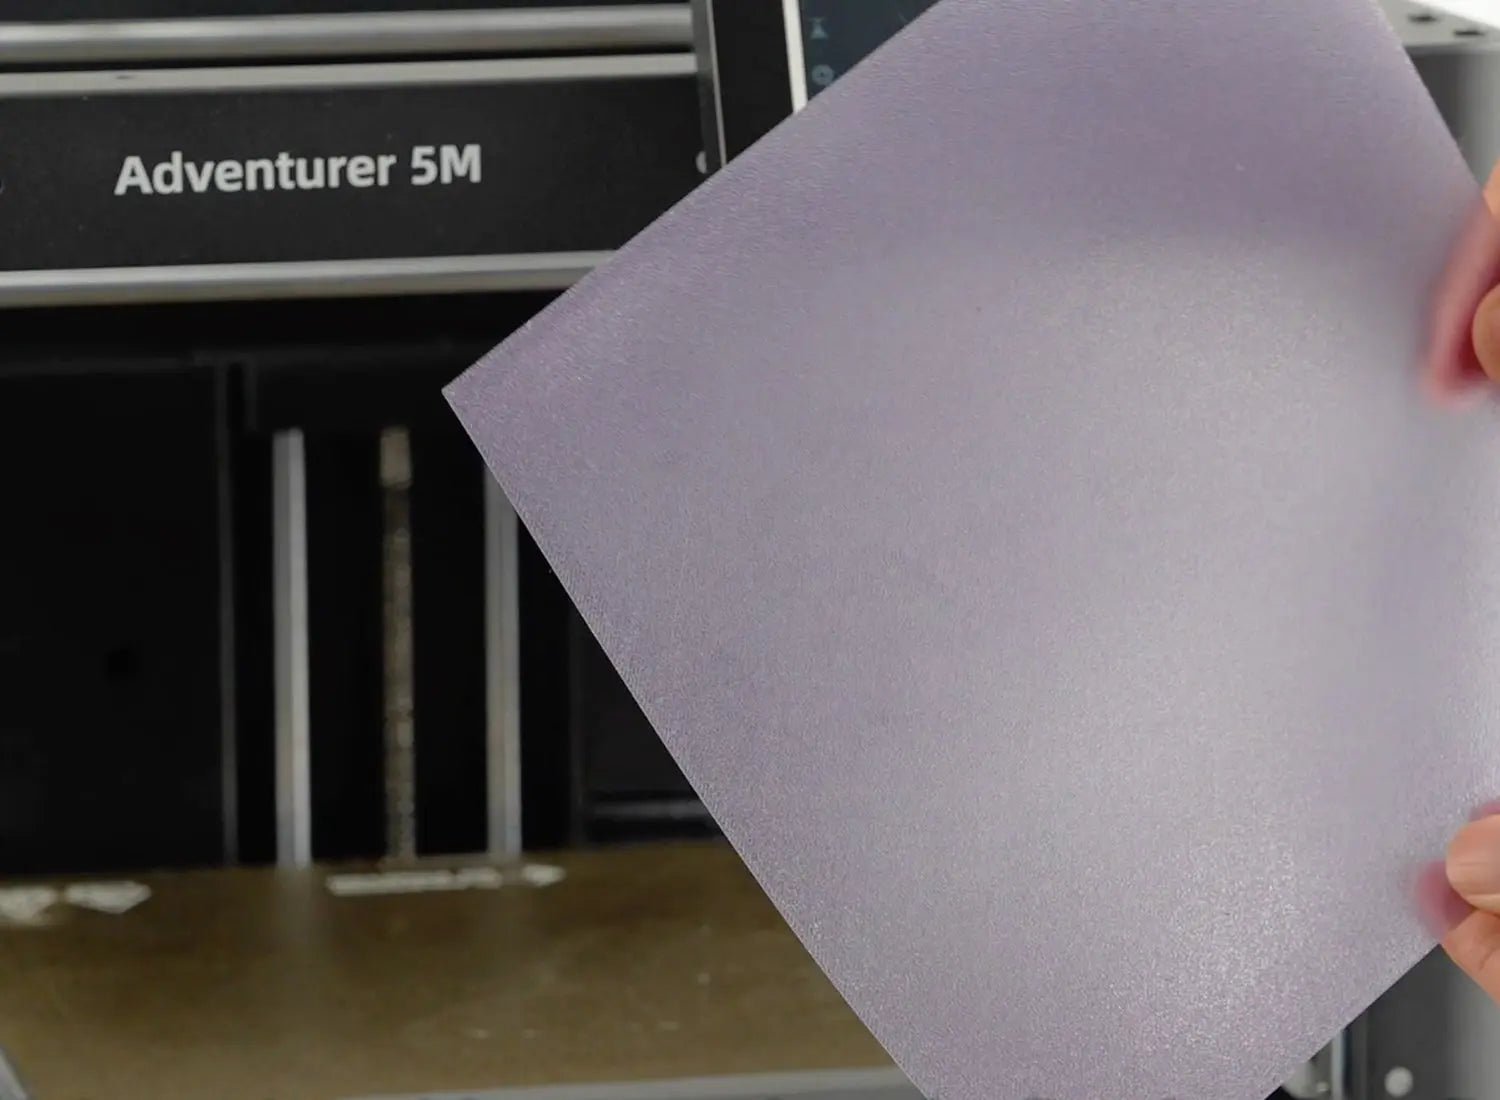
A perfectly printed first layer should look as smooth as a sheet of paper, with each line tightly fused together. When the first layer is printed correctly, the second and subsequent layers will naturally follow, resulting in a well-formed model with a smooth surface finish.
How to Tell if You Need to Recalibrate Vibration Compensation?
Vibration compensation is another important feature that ensures high-quality prints. However, heavy use of the printer or long-distance transportation can affect the calibration of the vibration compensation system. When this happens, it may lead to visible imperfections on your model’s surface, such as ripples or prominent layer lines. To determine whether recalibration is needed, try printing a model using matte filament, which tends to highlight surface details more clearly.
If you notice any of the following issues, it’s likely time to recalibrate the vibration compensation:
- Distinct layer lines that stand out
- Ripple-like patterns on the surface of the model

Here’s how to recalibrate the vibration compensation:
- Access Vibration Compensation Settings: Make sure the printer is idle, then go to the settings menu and select the vibration compensation option.
- Start Automatic Calibration: Ensure the checkbox is ticked, then initiate the automatic calibration process.
- Wait for Completion: After a few minutes, the calibration will be complete, and you can resume printing.
Once recalibration is done, the surface quality of your prints should improve significantly. You can compare two models side by side—one printed before recalibration and one printed after. The difference in surface smoothness will be evident, with the post-calibration model appearing much finer and smoother.

If you observe ripple-like patterns or prominent layer lines on your prints, like in the image on the left, recalibration will help resolve these issues and improve the overall quality of your prints.
How to Operate Auto-Leveling and Vibration Compensation?
Bed leveling is a crucial operation in 3D printing. The purpose of leveling is to ensure that the distance between the nozzle and various parts of the build plate is consistent and appropriate. This guarantees an even, smooth print. Since it directly impacts print quality, it’s a frequently used and essential feature. However, there are a few details that need to be carefully observed to ensure successful leveling. Neglecting these points could affect the quality of the print. For example, always make sure that the build plate is clean and free of any debris. Follow the steps below for optimal results:
Step 1: Check the Build Plate and Nozzle
Before you begin the leveling process, ensure that the build plate is securely in place. Make sure the nozzle is properly installed as well to avoid any issues during calibration.
After that, run a test print of your model. Here’s an example of a perfect first layer, and this is a print with a smooth and refined surface finish.

Step 2: Start the Auto-Leveling Process
Navigate to the settings menu on your printer’s interface. Tap the menu button, then select "Auto-Leveling" followed by "Vibration Test." Once selected, tap ‘Start’ to initiate the process. The system will automatically calibrate the nozzle’s height in relation to the build plate.
Step 3: Complete the Leveling and Calibration
After a few minutes, the leveling and calibration process will be complete. The printer will automatically adjust itself to ensure that the nozzle and the build plate are at the ideal distance across the entire surface.
Step 4: Test the Print Quality
Once the leveling and calibration are done, it’s time to run a test print. Pay close attention to the first layer. A perfectly leveled build plate will result in a smooth and even first layer, as shown in the image below. A well-leveled bed is the foundation for achieving a refined surface finish on your final print.

By following these three tips, you’ll get the most out of your Flashforge Adventurer 5M series printer. Implementing these guidelines will help you produce higher-quality prints while minimizing common issues. In our next post, we’ll dive into more advanced features, including how to use LAN mode for remote printing, how to upgrade your firmware, and whether leveling is required before every print. Stay tuned!