In this edition of our tutorial series, we will continue sharing essential tips and tricks to help you get the best out of your 3D printer. Whether you’re a newcomer to the world of 3D printing or a seasoned expert, these guidelines will walk you through some common challenges, offer technical advice, and show you how to optimize your printer's performance, improving the quality and efficiency of your prints.
Here’s what we’ll cover in this volume:
- How to Use LAN Mode for Remote Printing?
- How to Upgrade Firmware for Adventurer 5M series?
- Is Leveling Needed Before Every Print?
- How to Adjust the Printing Speed During Printing?
- How to Use the Flash Maker App for one-click batch printing?
These topics address both fundamental and advanced operations, giving you the tools to overcome printing challenges while making the most of your Flashforge Adventurer 5M series.
How to Use LAN Mode for Remote Printing?
For users who value security and efficiency, printing via LAN mode is an excellent option. It allows you to control and send print jobs remotely within a secure local network, eliminating the need for direct physical access to the printer. This feature is especially useful for studios or workplaces that prioritize data security.
Here’s how to set it up:
1. Ensure Proper Network Connection
The first step is making sure that both your printer and computer are connected to the same network. This is crucial—if the printer and the slicing software are not on the same network, the software won’t detect the printer. Once connected, navigate to your printer's settings and activate the LAN Mode feature.

2. Connect Through Orca-Flashforge Slicing Software
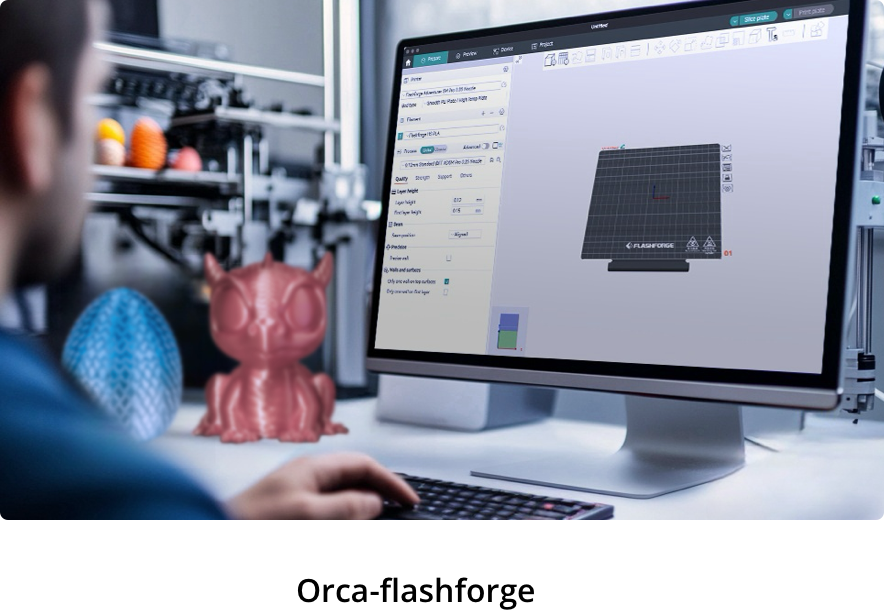
Open the Orca-Flashforge slicing software on your computer and search for available devices. Your Adventurer 5M series printer should appear on the list. Select it to establish a connection. If the printer does not show up, try restarting the software and searching again.
3. Input the Printer’s ID Code
Locate the printer's ID address by navigating to the network settings menu on the printer itself. Enter this ID address into the slicing software to bind the printer in LAN mode. If the connection fails, refresh the ID code and try again.
Once connected, you’ll be able to remotely send print jobs to the printer over the local network, streamlining your workflow and allowing you to manage printing tasks more efficiently.

This feature is incredibly useful for businesses or studios where data security is paramount. You can send files to the printer securely without worrying about the risk of design leaks, making it an excellent tool for product prototyping.
How to Upgrade Firmware for Adventurer 5M series?
To ensure the optimal performance of your 3D printer, it’s essential to keep the firmware up to date. Flashforge periodically releases firmware updates to enhance performance and address bugs or technical issues. There are two main ways to upgrade your printer’s firmware:
1. Automatic Firmware Upgrade
If your printer is connected to the internet, you’ll automatically receive a firmware upgrade notification when a new version is available. Follow the on-screen prompts to complete the upgrade process. This is the easiest and most straightforward way to keep your printer updated.

2. Manual Firmware Upgrade
If your printer is offline or not connected to the internet, you’ll need to manually update the firmware. Head to the Flashforge website and download the latest firmware. The file will be compressed—do not unzip or rename the file. Simply copy the compressed file to a USB drive.
Next, insert the USB drive into the printer while it is powered off. When you turn on the printer, it will automatically recognize the firmware update. Follow the on-screen instructions to install the update.

Tip: Make sure you insert the USB drive before turning on the printer, as this ensures the firmware will be detected.
Keeping your firmware updated ensures your printer runs smoothly, reducing errors and improving overall functionality.
Is Leveling Needed Before Every Print?
One of the most common questions from new users is whether it’s necessary to level the bed before every print. The answer depends on what material you're printing and the specific conditions of your setup.
If your printer has not been moved, and you are using materials like PLA, you typically don’t need to perform leveling before each print. PLA requires a bed temperature around 55°C, and since this temperature remains consistent, the distance between the nozzle and the bed does not change significantly. A single auto-leveling process should suffice.

For materials that require higher bed temperatures like PETG, ABS, or carbon fiber composites, you should perform auto-leveling before each print. These materials require bed temperatures that can reach 90°C or higher, which can cause the bed to expand, altering the distance between the nozzle and the bed. This expansion can impact the first layer, potentially causing print failures or defects. To ensure a flawless first layer and the best adhesion, always perform a fresh leveling session before printing with these materials.
Understanding when and how often to level your bed is key to maintaining consistent print quality and minimizing errors.

How to Adjust the Printing Speed During Printing?
The ability to adjust printing speed mid-print gives you flexibility when balancing quality and time. Depending on your needs, adjusting the speed can either improve the surface quality or shorten the overall print duration.
First, during printing, navigate to the function menu on the bottom right corner of the printer screen. From here, you can adjust the speed by modifying the percentage values. This allows for real-time fine-tuning of your print. If you’re aiming for finer details and a smoother surface finish, reduce the speed by up to 50%. This will slow down the printer, lowering noise levels and improving the model's overall surface quality.

On the other hand, if you're pressed for time, you can increase the speed by up to 150% to finish the print faster. However, bear in mind that speeding up the process may result in a slight reduction in surface quality.
Tip: avoid making frequent speed adjustments during a single print session, as this can lead to inconsistencies in the final output.

How to Use the Flash Maker App for one-click batch printing?
For workshops or print farms with multiple 3D printers, there is often a need for small-batch, continuous production of the same model. Manually starting prints on each machine can be cumbersome and inefficient. To address this, Flashforge offers an efficient solution: the ability to remotely send batch print jobs via the Flash Maker mobile app by using previously saved print tasks. Here's a step-by-step guide on how to use this feature:
First, open the Flash Maker app and and go to the 'My' menu. From there, select 'Print History' and choose the previously printed model you wish to use.
Follow the prompts to select multiple printers that are compatible with the slicing file. Once selected and ‘send to print’, you can initiate the print job across all the devices simultaneously.

Please note that the one-click batch printing feature is only available for print files that have been successfully printed in the past. Batch printing is particularly useful in environments where efficiency and high throughput are necessary. By sending a single job to multiple printers at once, you save significant time and ensure consistent output across multiple devices.
By following these four tips, you’ll maximize the potential of your Flashforge Adventurer 5M series printer. Implementing these guidelines will help you produce higher-quality prints while minimizing common issues. In our next tutorial, we’ll dive into more advanced features and troubleshooting tips. Stay tuned for more insights!


