Looking for Help?
Find answers to your questions
-
Adventurer 5M Series
- FAQ for Adventurer 5M Pro
- FAQ for Adventurer 5M
- Unboxing Your Adventurer 5M Pro
- Adventurer 5M Series Firmware Update Log
- Firmware Upgrade
- Troubleshooting: Network-related Issues
- Troubleshooting: Equipment Error Messages
- AD5M Series Troubleshooting: Equipment Hardware Issues
- AD5M Series Troubleshooting: Print Quality Problems
- Troubleshooting: Equipment Usage Issues
- Basic Setup
- Accessories List
- Unboxing Your Adventurer 5M
- Introduction to Adventurer 5M Series
- FAQ for Guider 3 Ultra
- Perform a firmware update on Guider 3 Ultra
- Firmware release note
- Troubleshooting for Guider 3 Ultra
- Basic setup
- Accessories list
- Unboxing your Guider 3 Ultra
- Introduction to Guider 3 Ultra
- AD5X Firmware Upgrade
- Print Without IFS
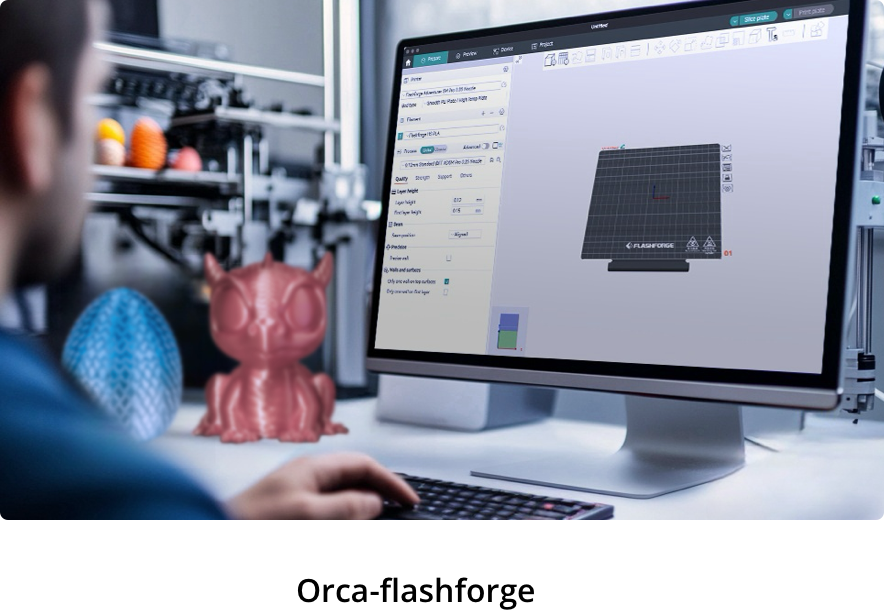
- Print via Orca-Flashforge
- Print Models from a USB Flash Drive on AD5X
- Print Built-in Models on AD5X
- Change Filament on AD5X
- Loading Filament
- AD5X Printing on the Build Plate
- AD5X Preparation before Printing
- Refill Printing
- Automatic filament loading
- Multi-Color Printing
- Connecting IFS to AD5X
- AD5X Basic Setup
- Accessories List for AD5X
- Quick-start Guide for Your AD5X
- Unboxing Your AD5X
- Introduction to AD5X
- Print Built-in Models on Adventurer 5M Series
- Preparation before Printing
- Printing on the Build Plate
- Creative Designs from our Users
- Test print models for HS PLA (print with ad5m series)
- From 0 to 250: The Rise of a 3D Print Farm
- How to Series Video on Youtube
- AD5M Series Slicing Profile
- Maker Series Video on Youtube
- Page Contents
- Printer Mod and DIY
Unboxing Your Adventurer 5M
Table of Contents
Step into the unboxing journey of Adventurer 5M.
Step 1: Unboxing Your Printer
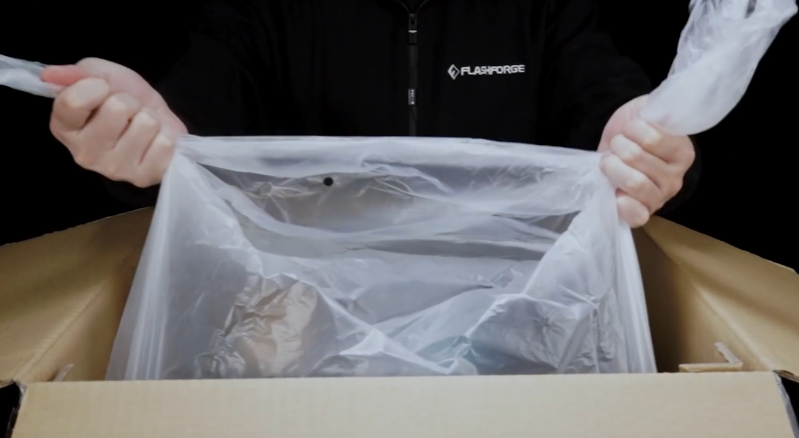
After opening the box, remove the upper foam and fixing cardboard. Remove the printer from the box by using the two plastic handles as shown below and place it on a flat surface.
Step 2: Accessory Removal
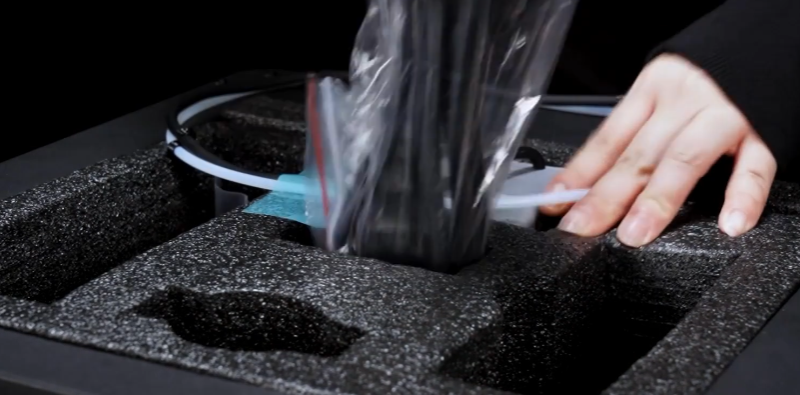
Remove the filament, power cord, screen and accessory box from the chamber protective foam. Remove the inner protective foam from the extruder.
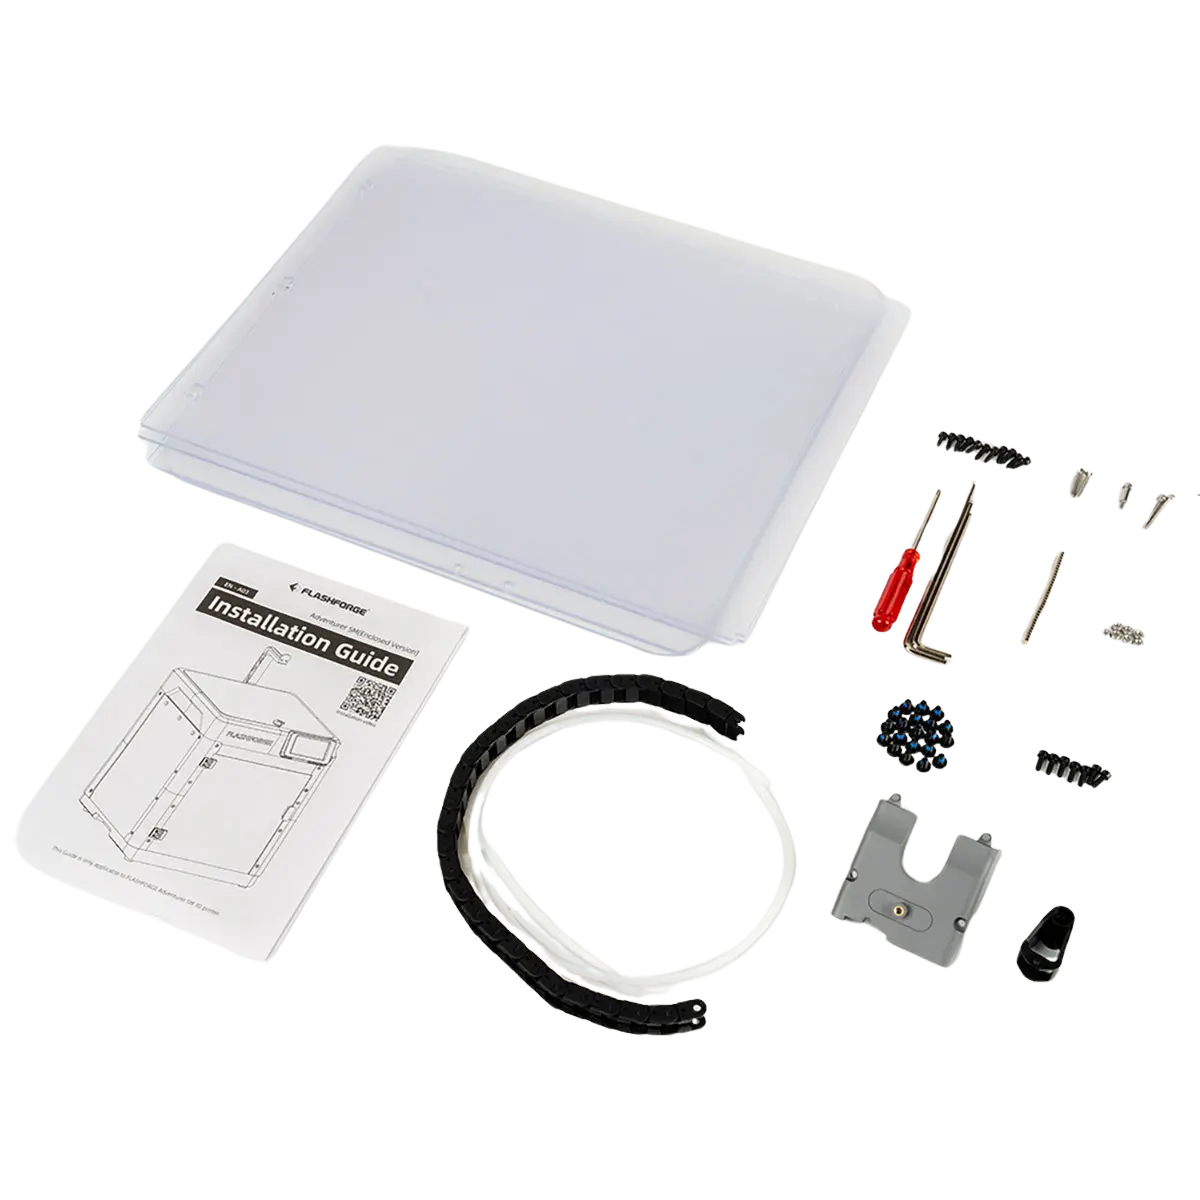
Below are accessory box contents for Adventurer 5M:
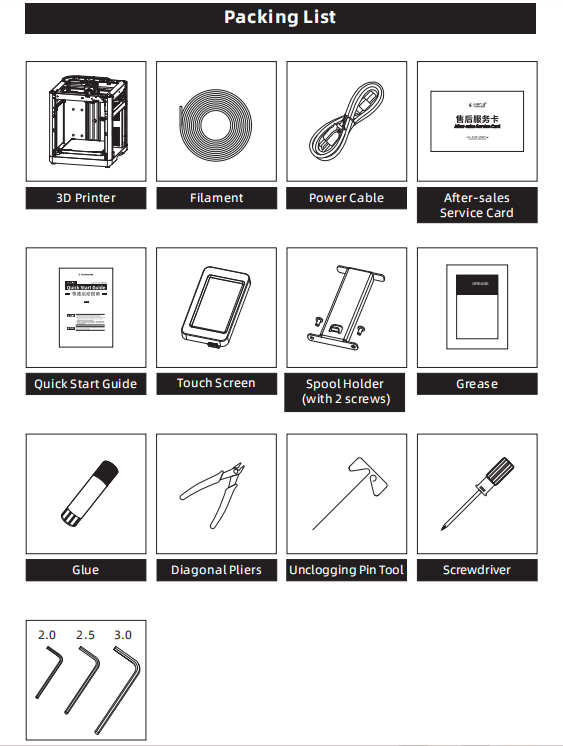
Learn more about the accessories here.
Step 3: Protective Foam Removal
a) First remove the foam, as shown in the figure.
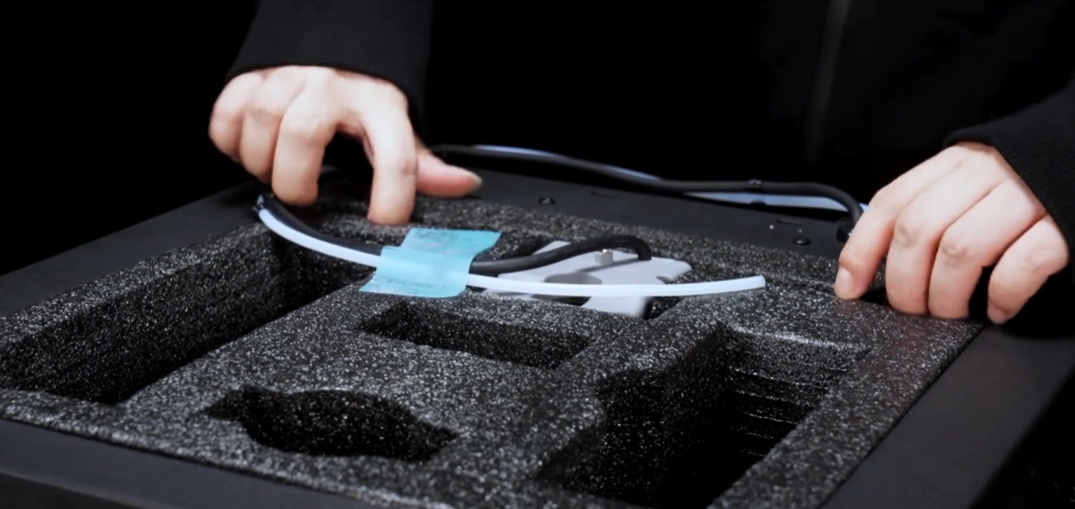
b) Push the nozzle as shown and remove the protective foam.
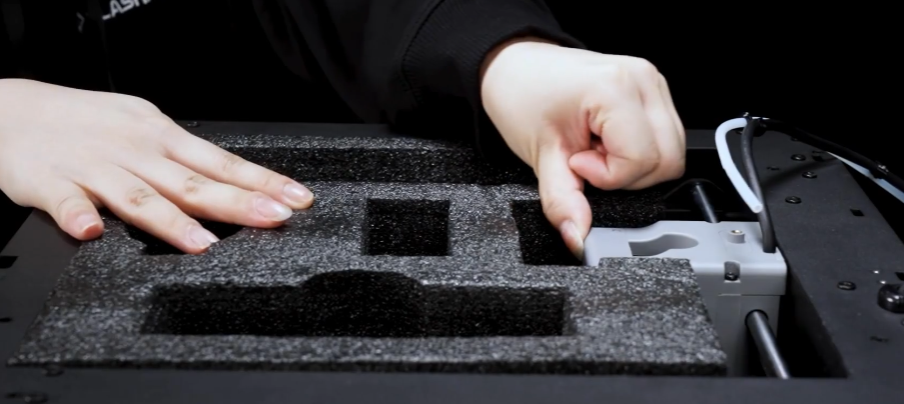
Step 4: Spool Holder Installation
Take out the spool holder and screws from the accessory box. Install the spool holder on the back panel of the printer.
Note:
1. Use a 2.0 Allen wrench for installation.
2. The protruding part of the spool holder should face upward during installation. Do not install it upside down.

Step 5: Filament Guide Tube Installation
Insert the front end of the guide tube into the extruder, and insert the rear end into the filament detection buckle.

Step 6: Touch Screen Installation
Please carefully remove the protective tape fixing the cable before installation. Insert the screen cable into the screen connector and press down the buckle. Insert the buckle on the back of the screen into the printer's slot and push the screen to the left to lock it securely.

Step 7: Bed Fixing Screw Removal
Use a 2.0 Allen wrench to remove the four screws indicated by the arrows below.
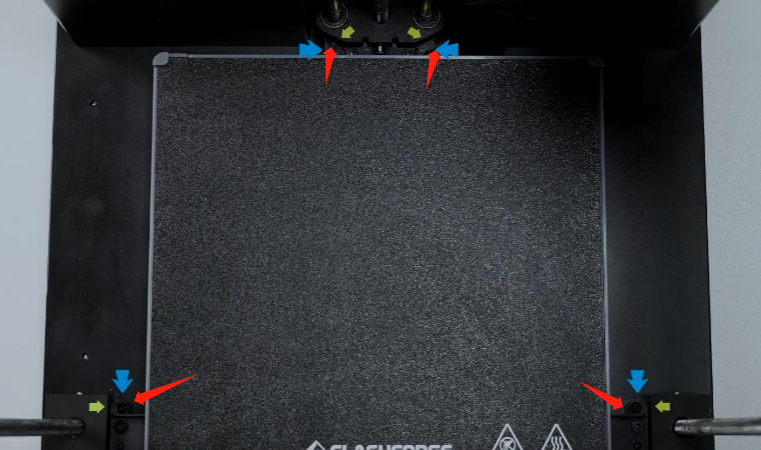
Step 8: Power Connection
Power on the printer, press the power switch, and the screen lights up. Unboxing is completed.

Unboxing Video
Watch the full unboxing video on YouTube:
Updated on 03 Sep 2024
What are your Feelings?
Thanks for your feedback
Newsletter
Promotions, new products and sales. Directly to your inbox.

Free shipping
Available for shipping within the continental United States.

12-years Brand
Trusted by over 1 million users worldwide.

Secure payment
Pay securely with Credit Card, PayPal, Klarna, and Afterpay.

Points & Rewards
Just 100 points = 5% off on filaments and accessories.


