Looking for Help?
Find answers to your questions
-
Adventurer 5M Series
- FAQ for Adventurer 5M Pro
- FAQ for Adventurer 5M
- Unboxing Your Adventurer 5M Pro
- Adventurer 5M Series Firmware Update Log
- Firmware Upgrade
- Troubleshooting: Network-related Issues
- Troubleshooting: Equipment Error Messages
- AD5M Series Troubleshooting: Equipment Hardware Issues
- AD5M Series Troubleshooting: Print Quality Problems
- Troubleshooting: Equipment Usage Issues
- Basic Setup
- Accessories List
- Unboxing Your Adventurer 5M
- Introduction to Adventurer 5M Series
- FAQ for Guider 3 Ultra
- Perform a firmware update on Guider 3 Ultra
- Firmware release note
- Troubleshooting for Guider 3 Ultra
- Basic setup
- Accessories list
- Unboxing your Guider 3 Ultra
- Introduction to Guider 3 Ultra
- AD5X Firmware Upgrade
- Print Without IFS
- Print via Orca-Flashforge
- Print Models from a USB Flash Drive on AD5X
- Print Built-in Models on AD5X
- Change Filament on AD5X
- Loading Filament
- AD5X Printing on the Build Plate
- AD5X Preparation before Printing
- Refill Printing
- Automatic filament loading
- Multi-Color Printing
- Connecting IFS to AD5X
- AD5X Basic Setup
- Accessories List for AD5X
- Quick-start Guide for Your AD5X
- Unboxing Your AD5X
- Introduction to AD5X
- Print Built-in Models on Adventurer 5M Series
- Preparation before Printing
- Printing on the Build Plate
- Creative Designs from our Users
- Test print models for HS PLA (print with ad5m series)
- From 0 to 250: The Rise of a 3D Print Farm
- How to Series Video on Youtube
- AD5M Series Slicing Profile
- Maker Series Video on Youtube
- Page Contents
- Printer Mod and DIY
Print Built-in Models on Adventurer 5M Series
Table of Contents
1. Loading Filament
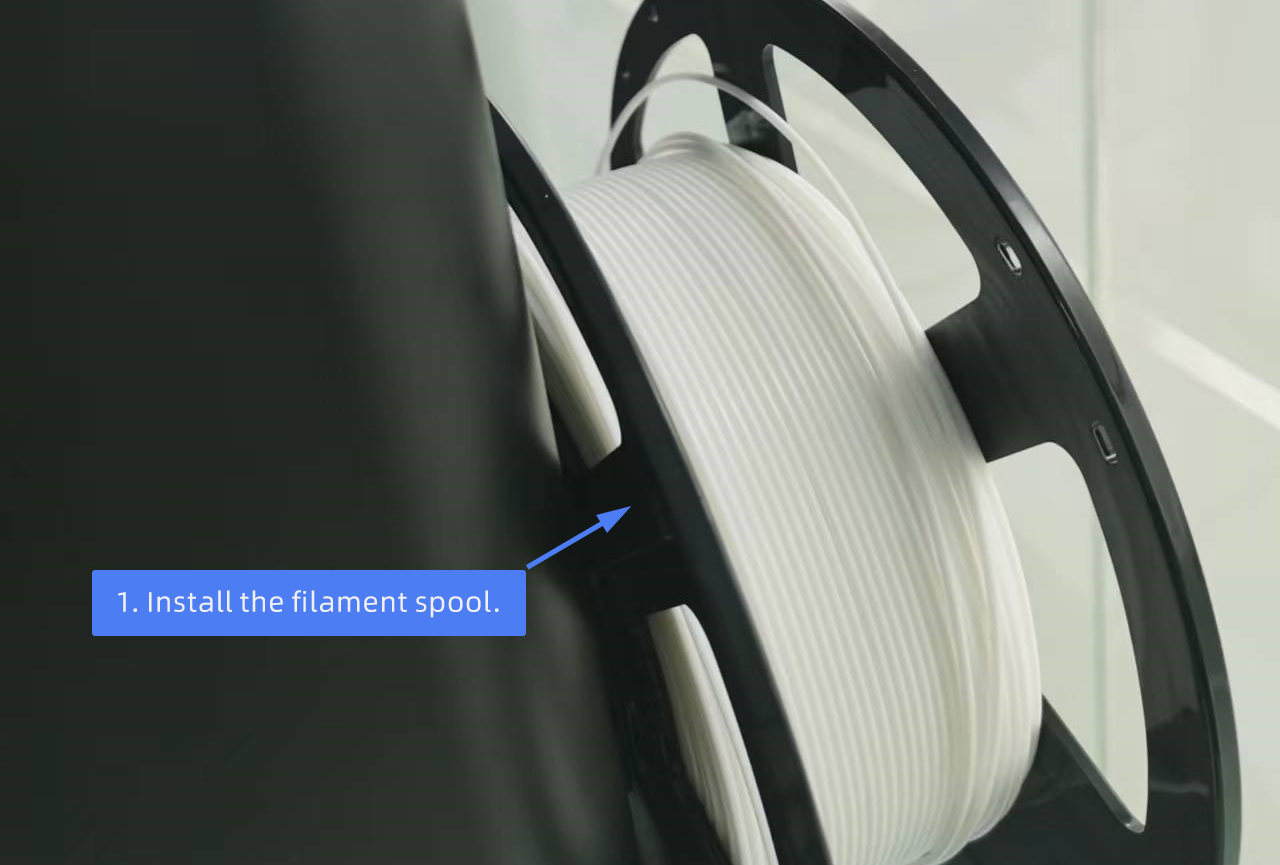
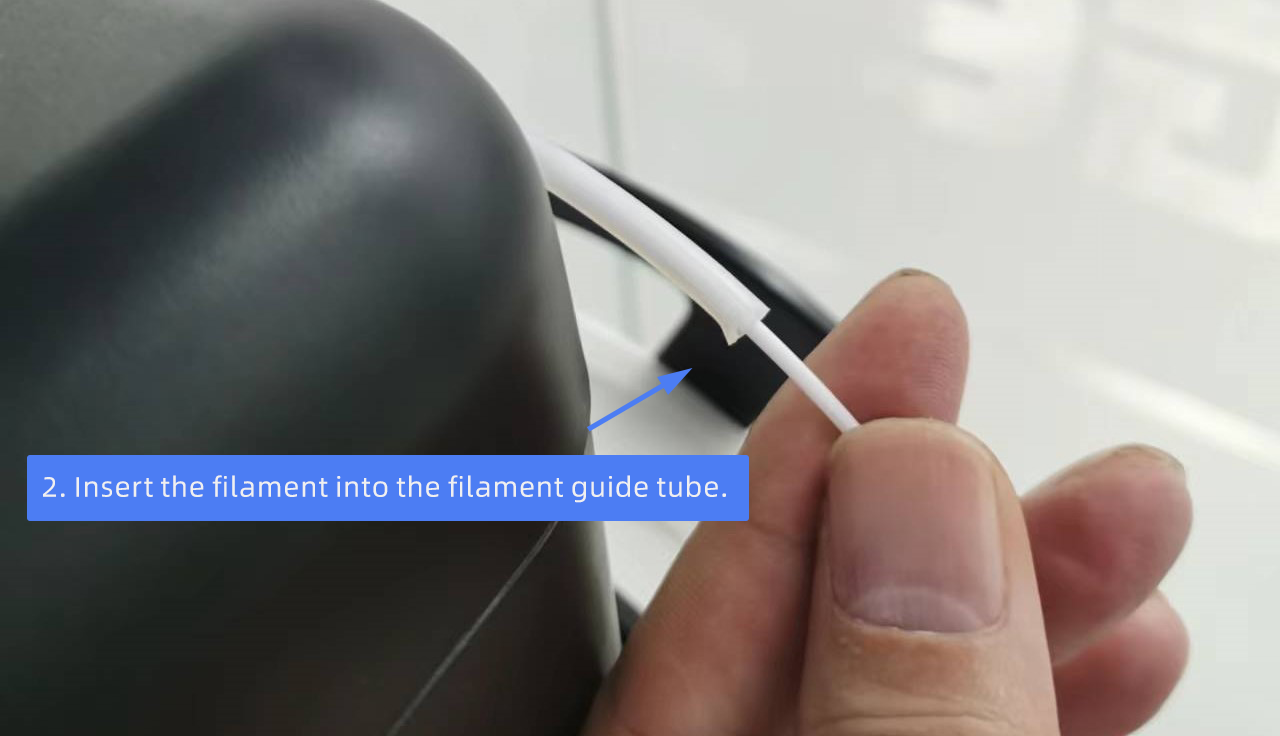
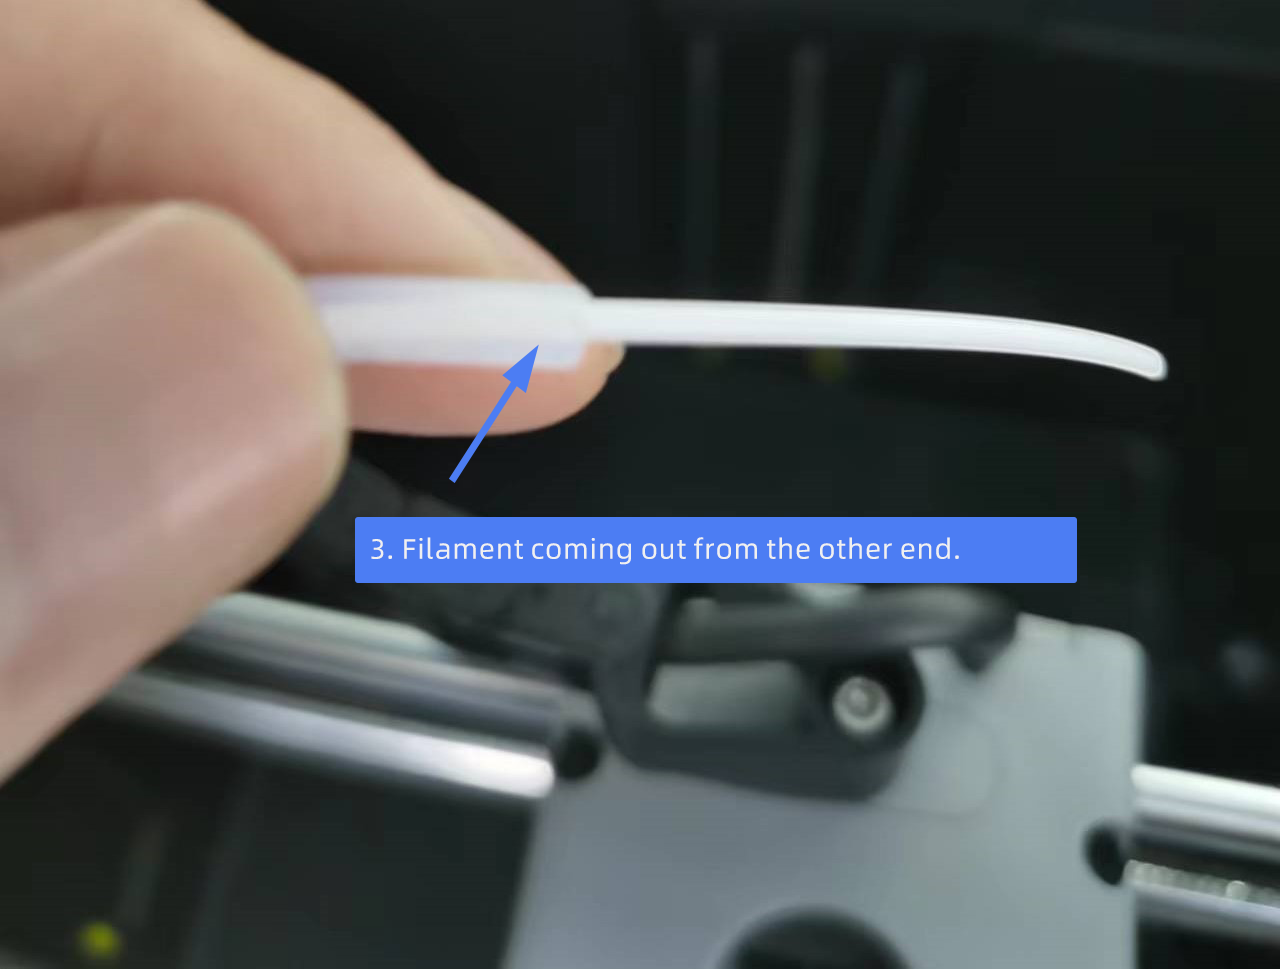
1. Install the filament spool on the spool holder and insert the filament into the filament guide tube until it comes out from the other end.
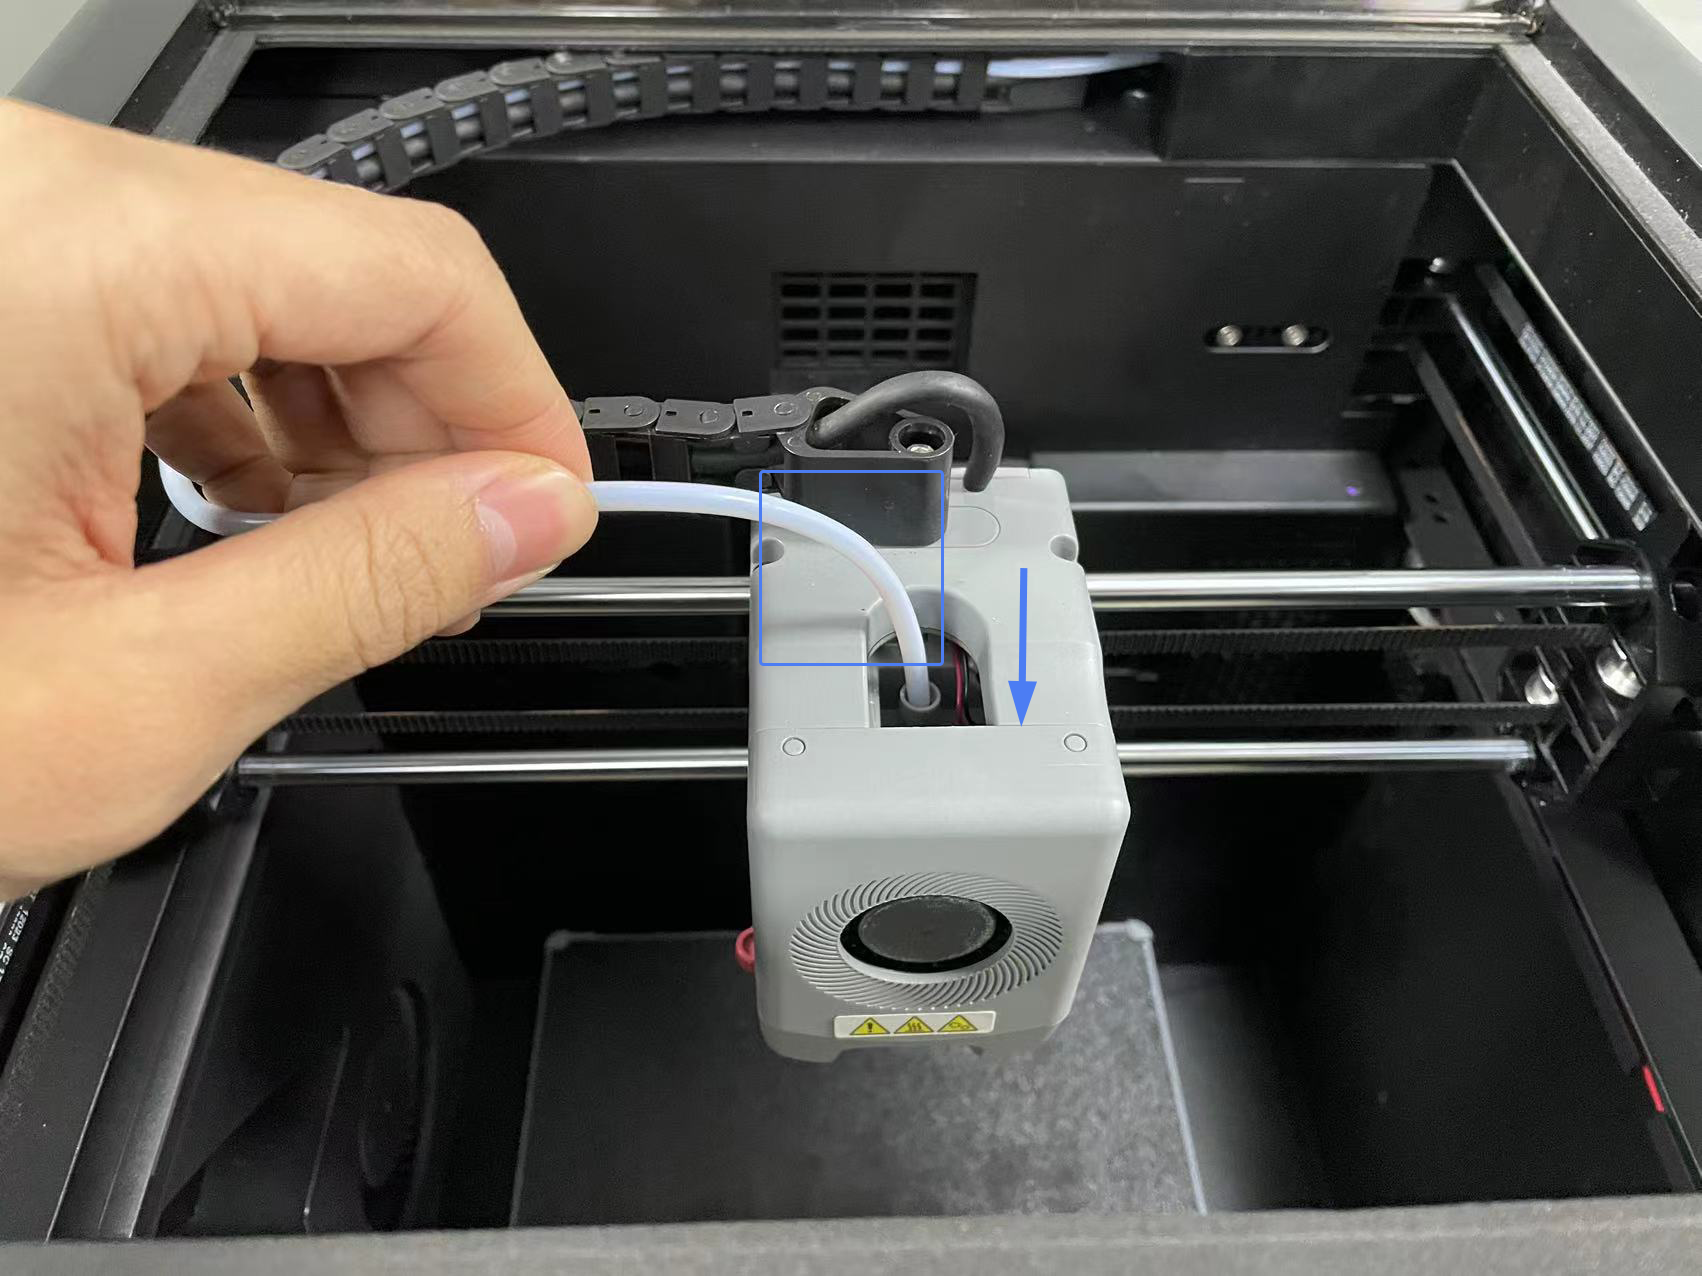
2. Insert the filament into the filament inlet, push it forward to the feed roller (stop when resistance is felt), and insert the filament guide tube into the filament inlet.
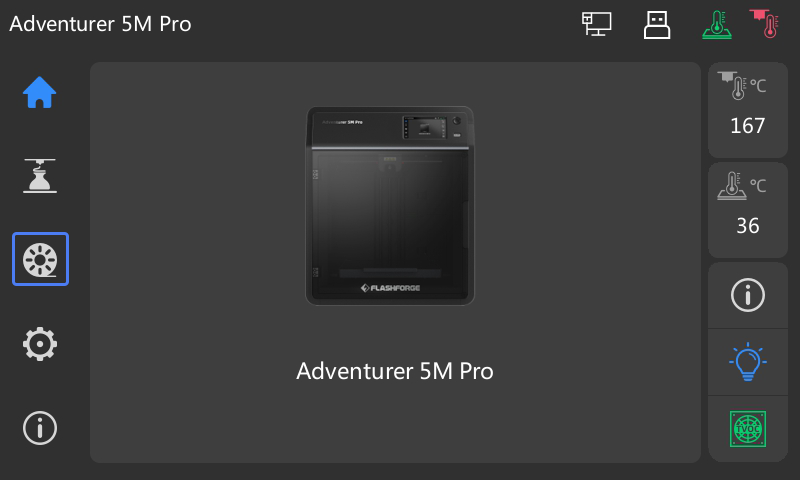
3. On the main interface, click [![]() ], as shown below.
], as shown below.
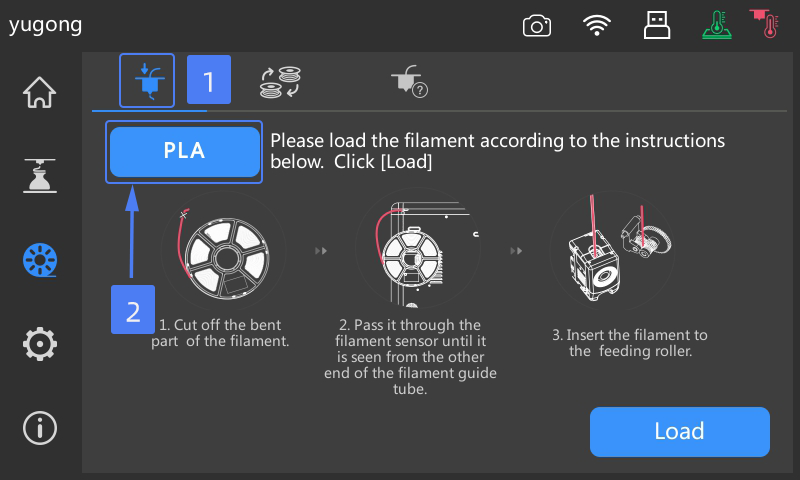
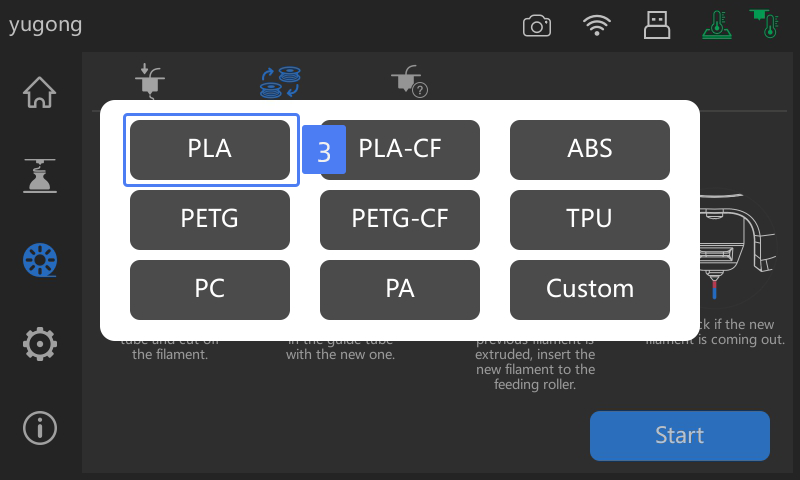
4. Select [![]() ], click [PLA] for filament selection, select the filament to be loaded (e.g., PLA), and then click [Start].
], click [PLA] for filament selection, select the filament to be loaded (e.g., PLA), and then click [Start].
5. After clicking [Start], the printer will begin heating. Once the temperature reaches the target, it will start feeding. Observe the nozzle until filament continuously flows out, indicating successful filament loading.
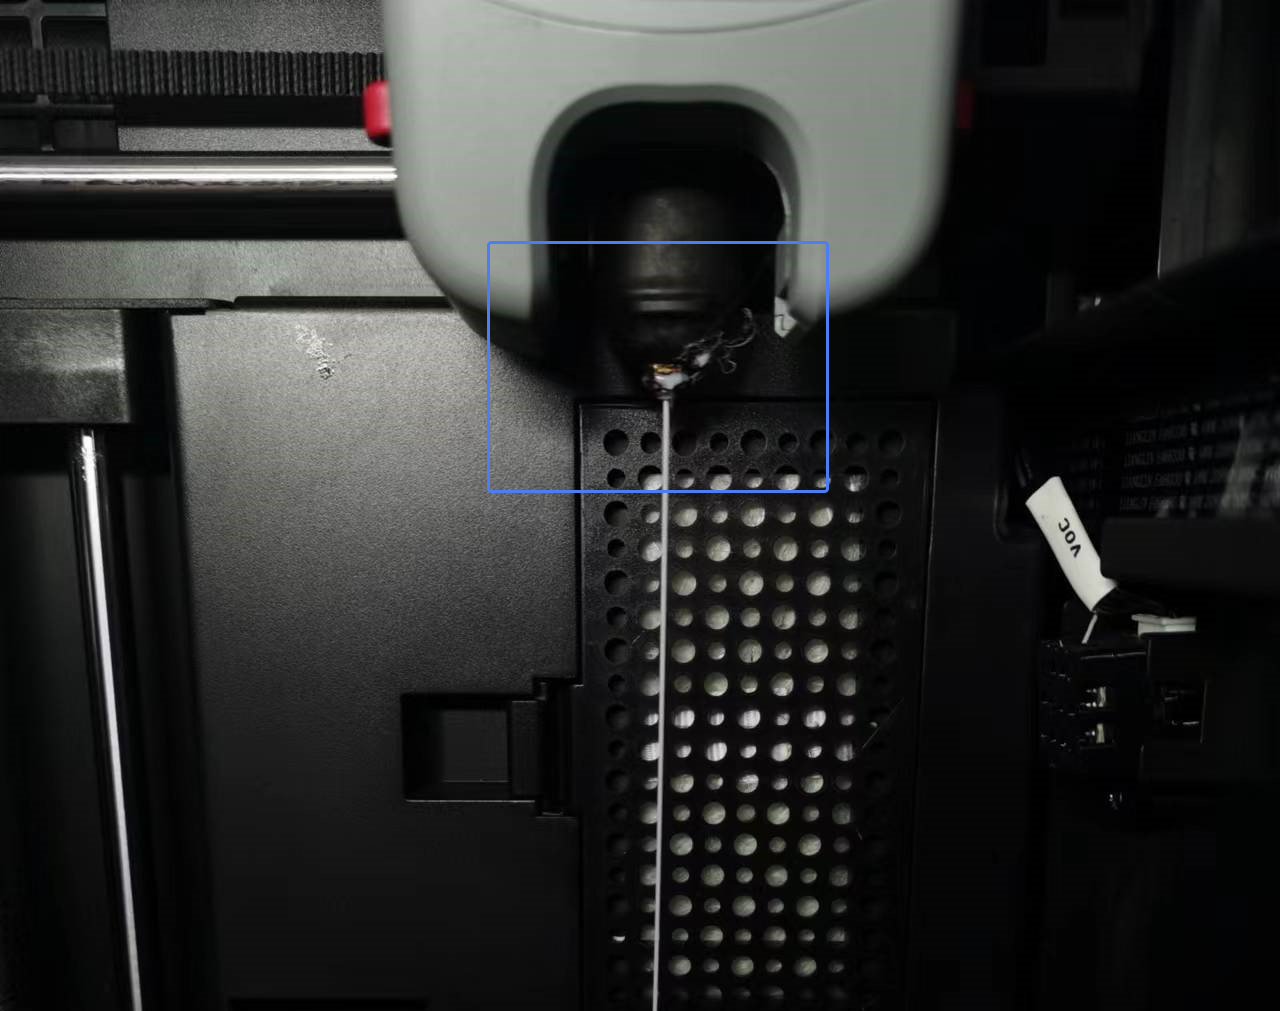
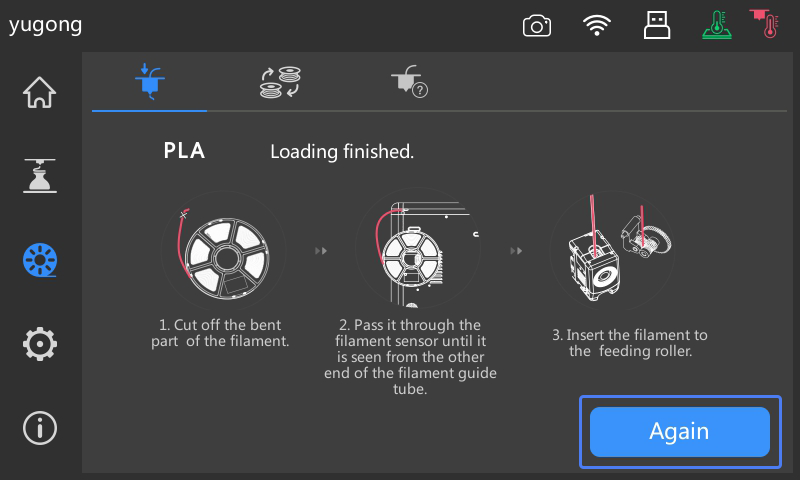
6. If the loaded filament is insufficient or no filament is extruded, click [Again] after the loading is completed. Hold the filament with your hand to feel for filament movement until it is extruded. After completing the second loading, return to the main interface.
2. Leveling
For the first use of Adventurer 5M/Adventurer 5M Pro, it is recommended to perform device calibration —— automatic leveling and vibration testing. The entire process takes approximately 7 minutes, which can enhance the print success rate and print quality. (Follow instructions on the screen for initial setup.)
Follow these steps to perform automatic leveling and vibration testing:
1. On the main interface, click [![]() ].
].
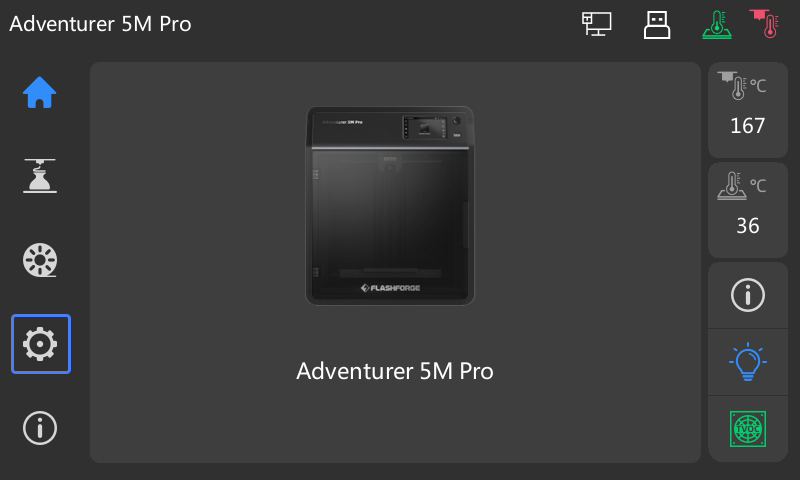
2. Select [ ] to access the interface.
Note: For the first use or after long-distance transportation, it is recommended to perform leveling and vibration testing. If facing issues like model not sticking to the bed during printing (nozzle too far away from the bed) or no filament extruded for the first layer (nozzle too close to the bed), you can choose to only perform automatic leveling. If there is ringing on the X/Y-axis during printing, perform vibration testing.
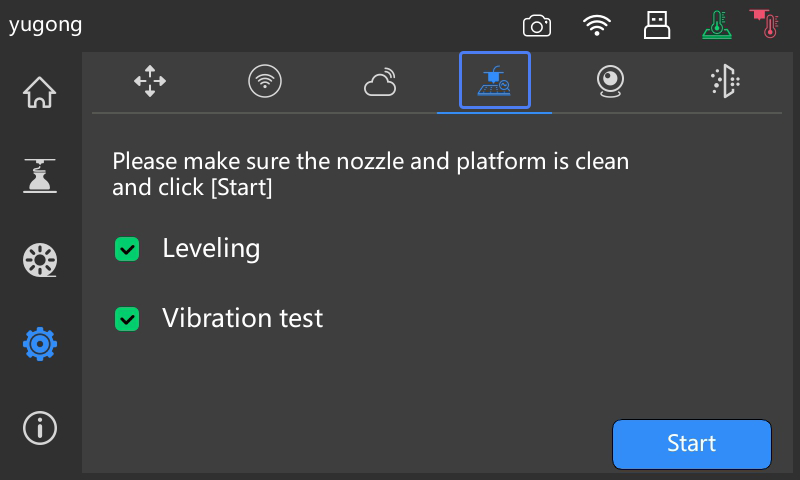
3. After clicking [Start], the printer will perform homing, leveling, and vibration testing in turn.
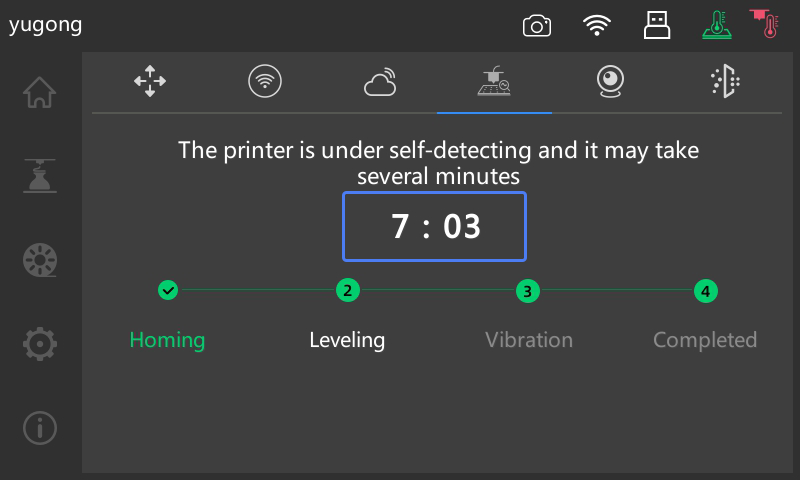
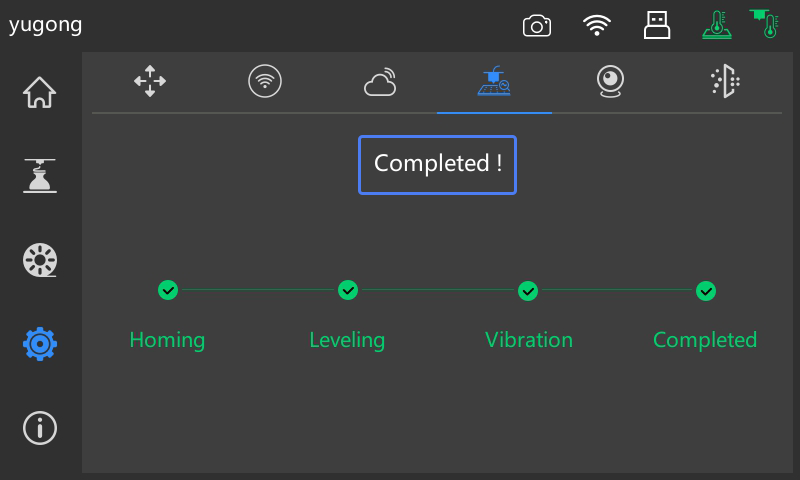
4. Once the calibration is completed, the screen will display as shown below, and then you can return to the main interface directly.
3. Applying Glue to the Bed
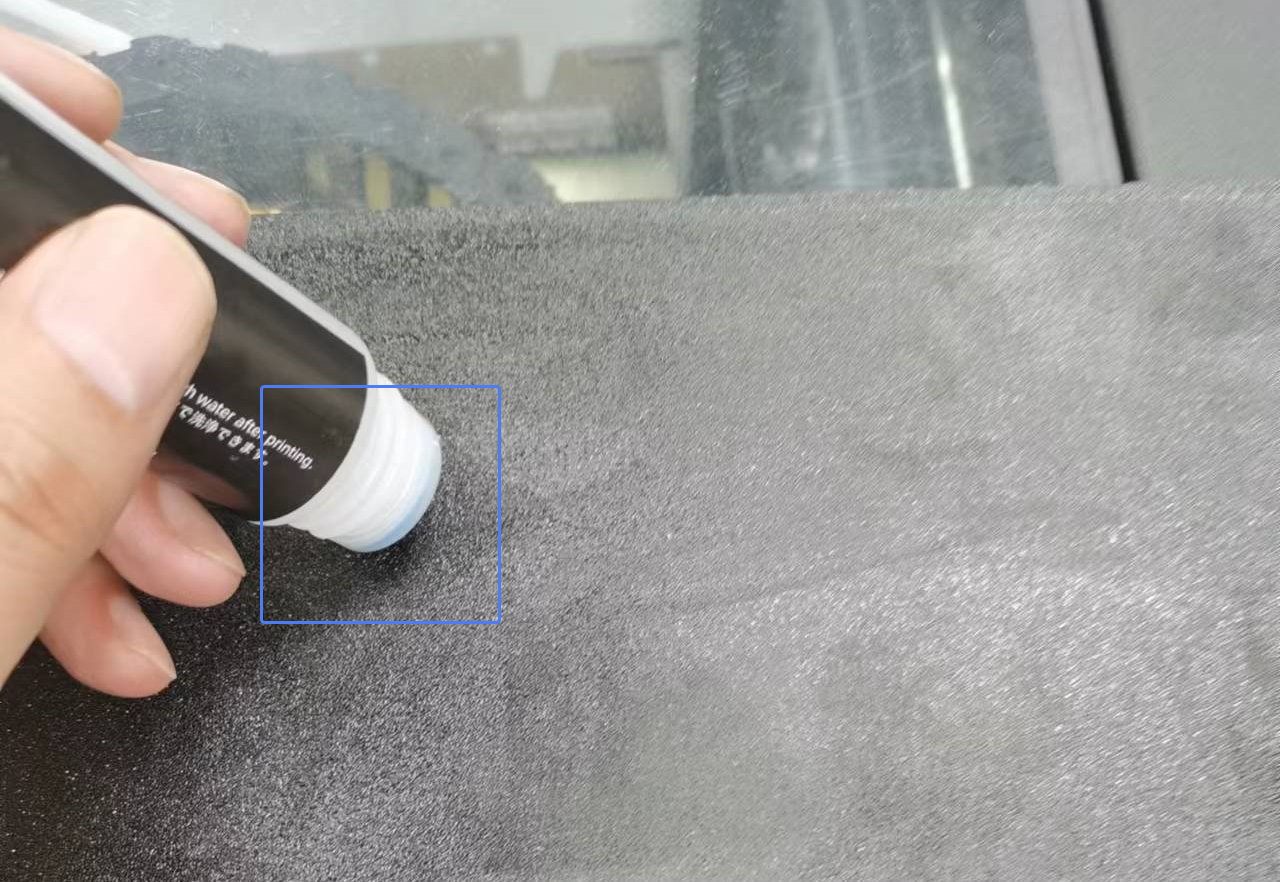
To enhance bed adhesion and improve the print success rate, it is recommended to evenly apply a layer of glue to the build plate before printing (please use the provided glue). Follow these steps for applying the glue:
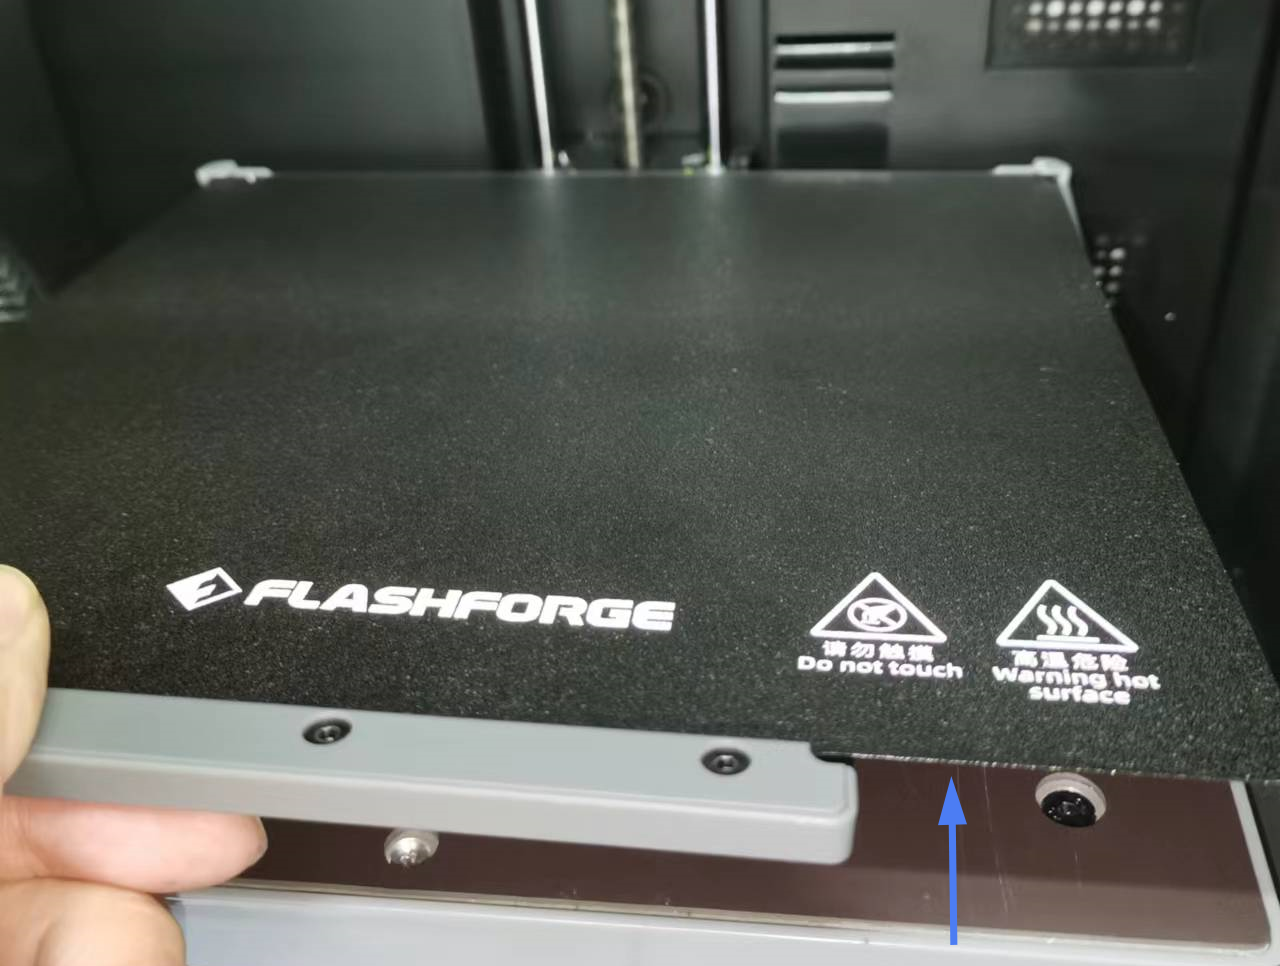
1. Take out the build plate. Note: Due to suction, please lift the build plate with a slight force to remove it.
2. Apply glue evenly to it.
3. Place the build plate by first fitting the back two corners into the designated slots on the platform, and then lower the build plate flat.
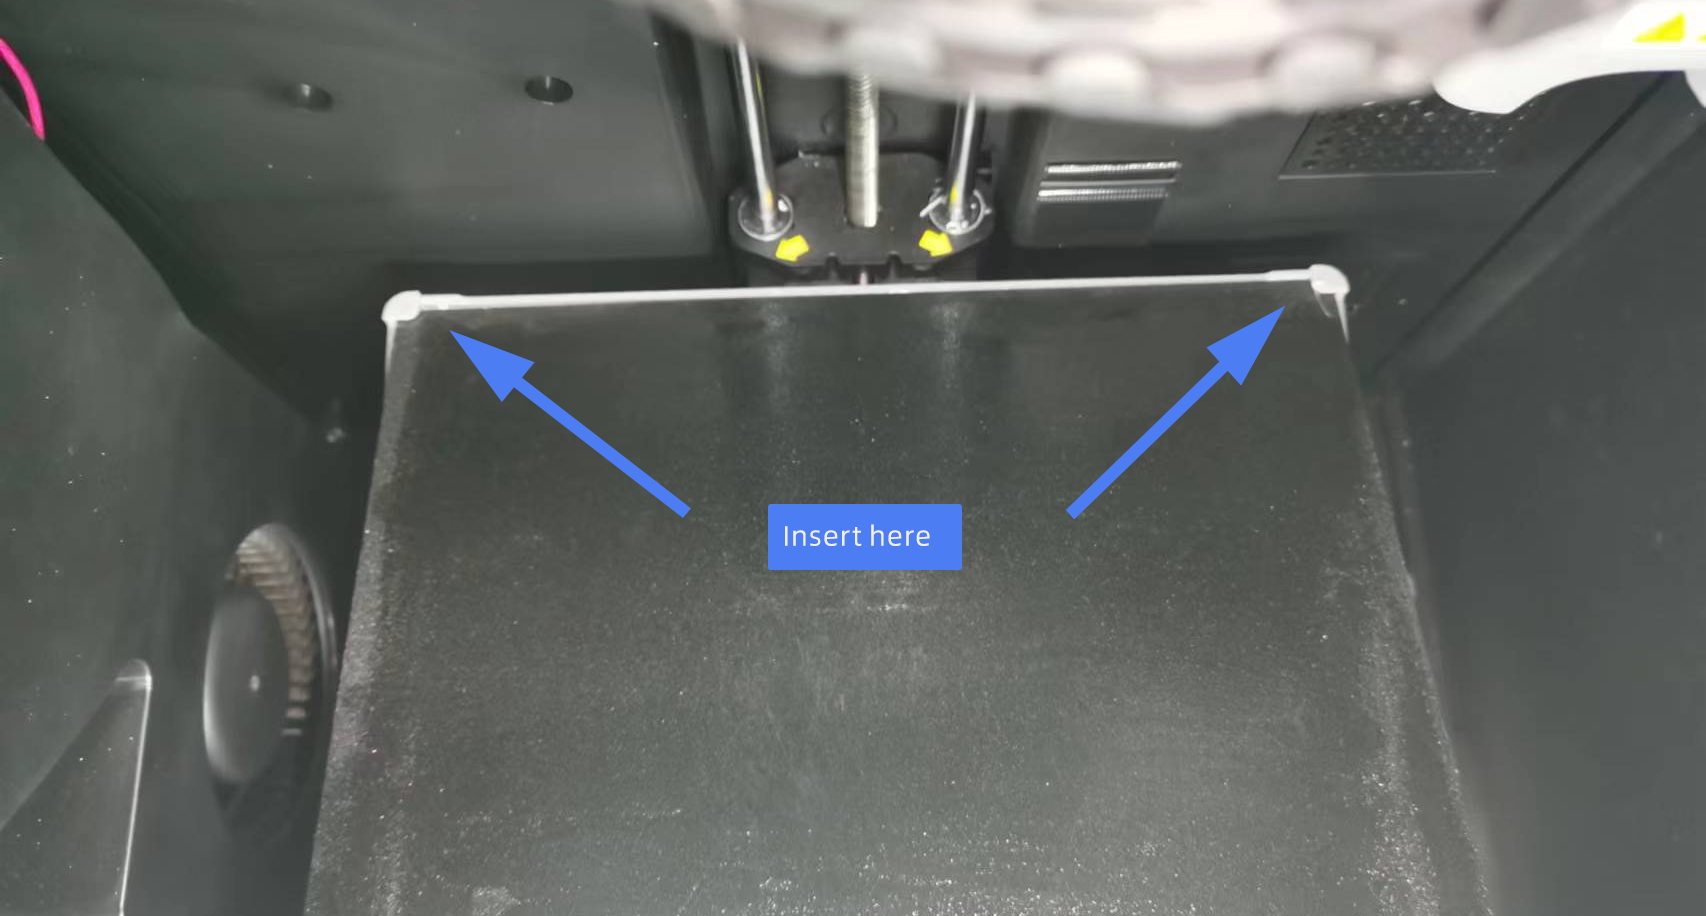
Note: Check for any foreign objects beneath to prevent unevenness, which could lead to printing failures.
4. Printing from Printer Memory
The printer's memory contains some samples and previously printed models. If you need to print them again, you can directly select the models stored in the printer's memory for printing.
1. On the main interface, click [![]() ] to access the print interface.
] to access the print interface.
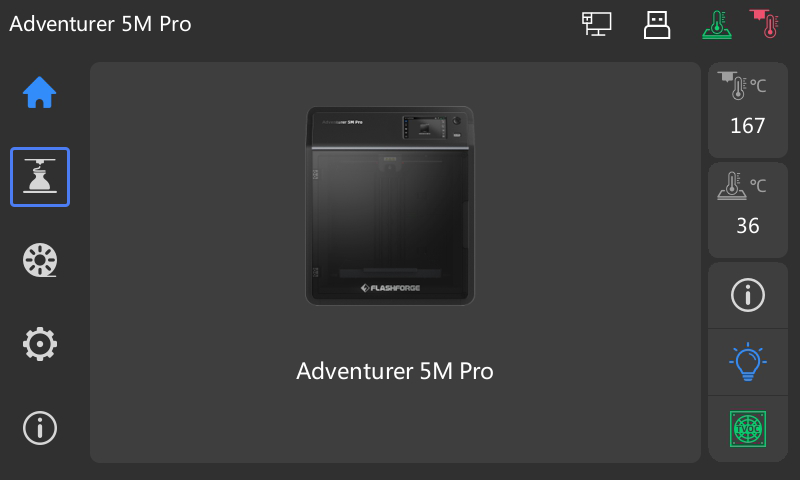
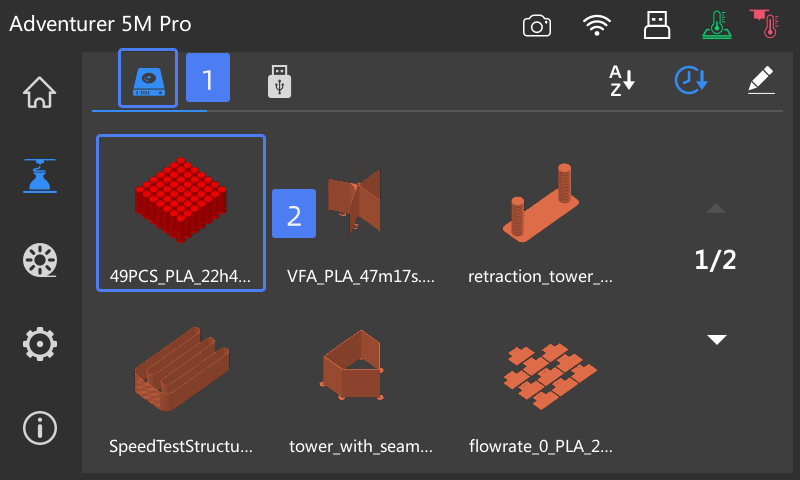
2. Enter the printer memory interface and choose the model to print (e.g., the one in the red box).
3. Enter the model details interface and click [![]() ] (as shown below).
] (as shown below).
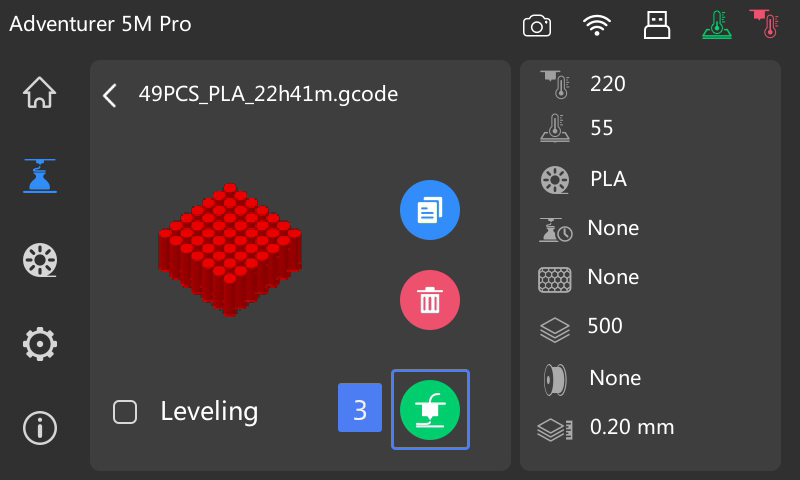
Note: Choose whether to level the bed before printing as needed.
4. After clicking [![]() ], the printer will perform heating preparations.
], the printer will perform heating preparations.
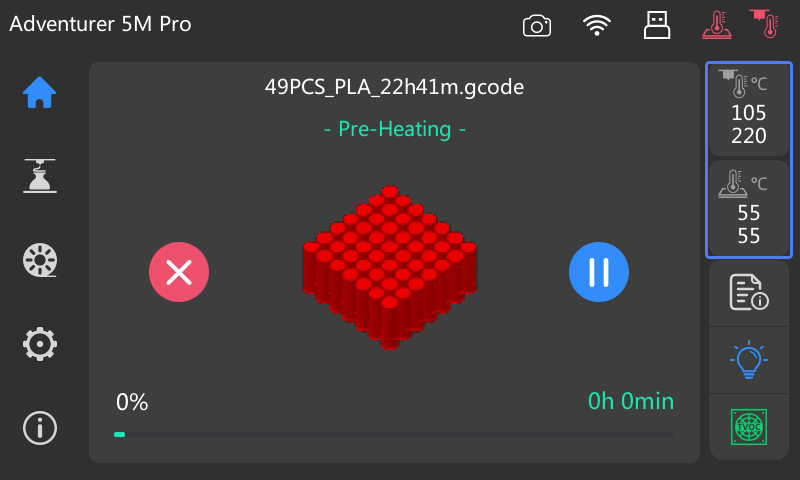
5. After heating is completed, the printer will start printing. After the first 1-2 layers are printed successfully, you can leave the printer unattended while waiting for completion.
6. After printing is completed, remove the build plate along with the model.
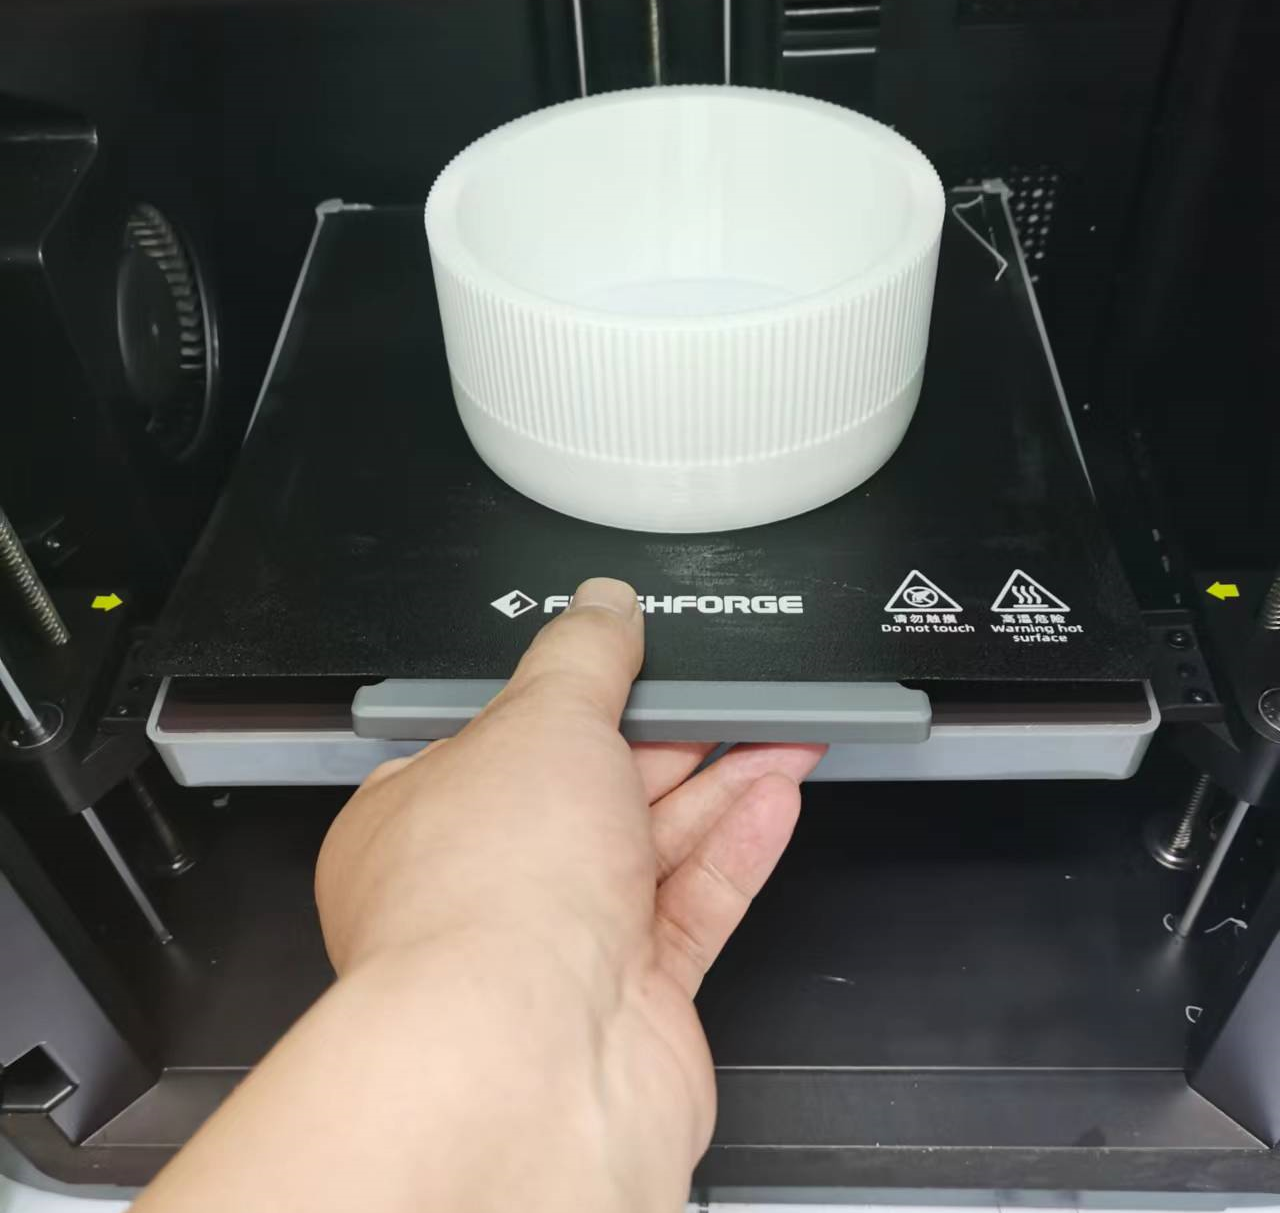
Note: The build plate may still be hot. Wait for it to cool before removing it.
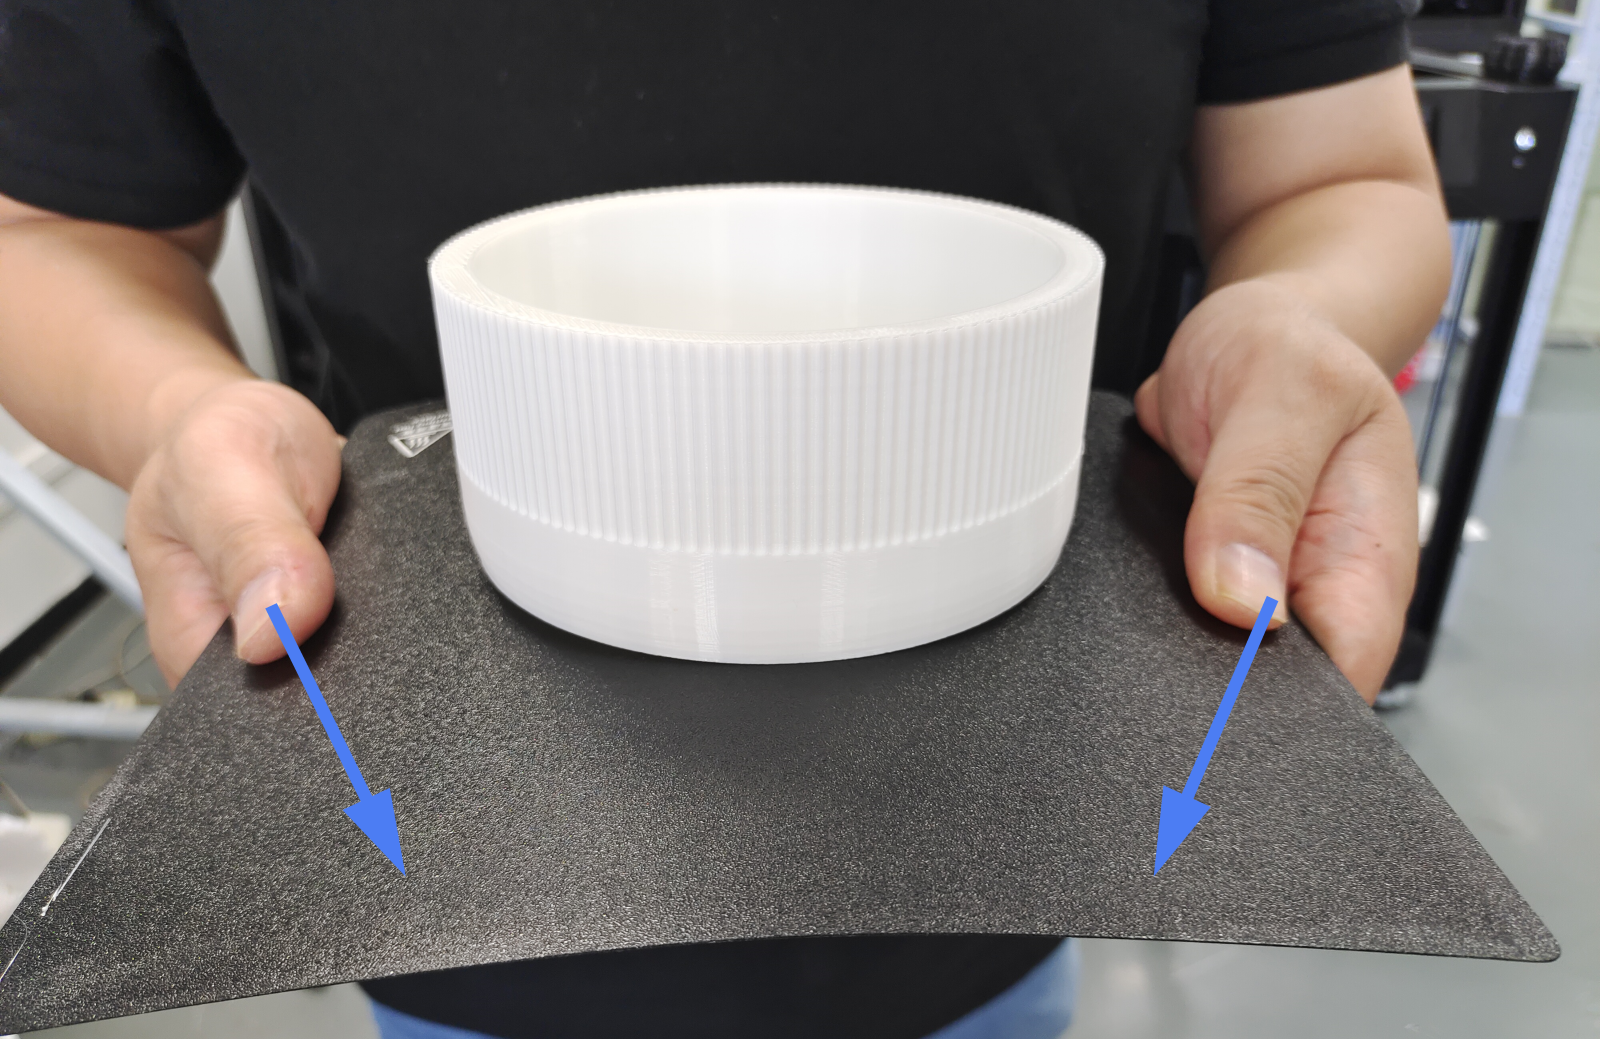
7. Fold the build plate, remove the model, and put the build plate back into the printer.
Updated on 03 Sep 2024

