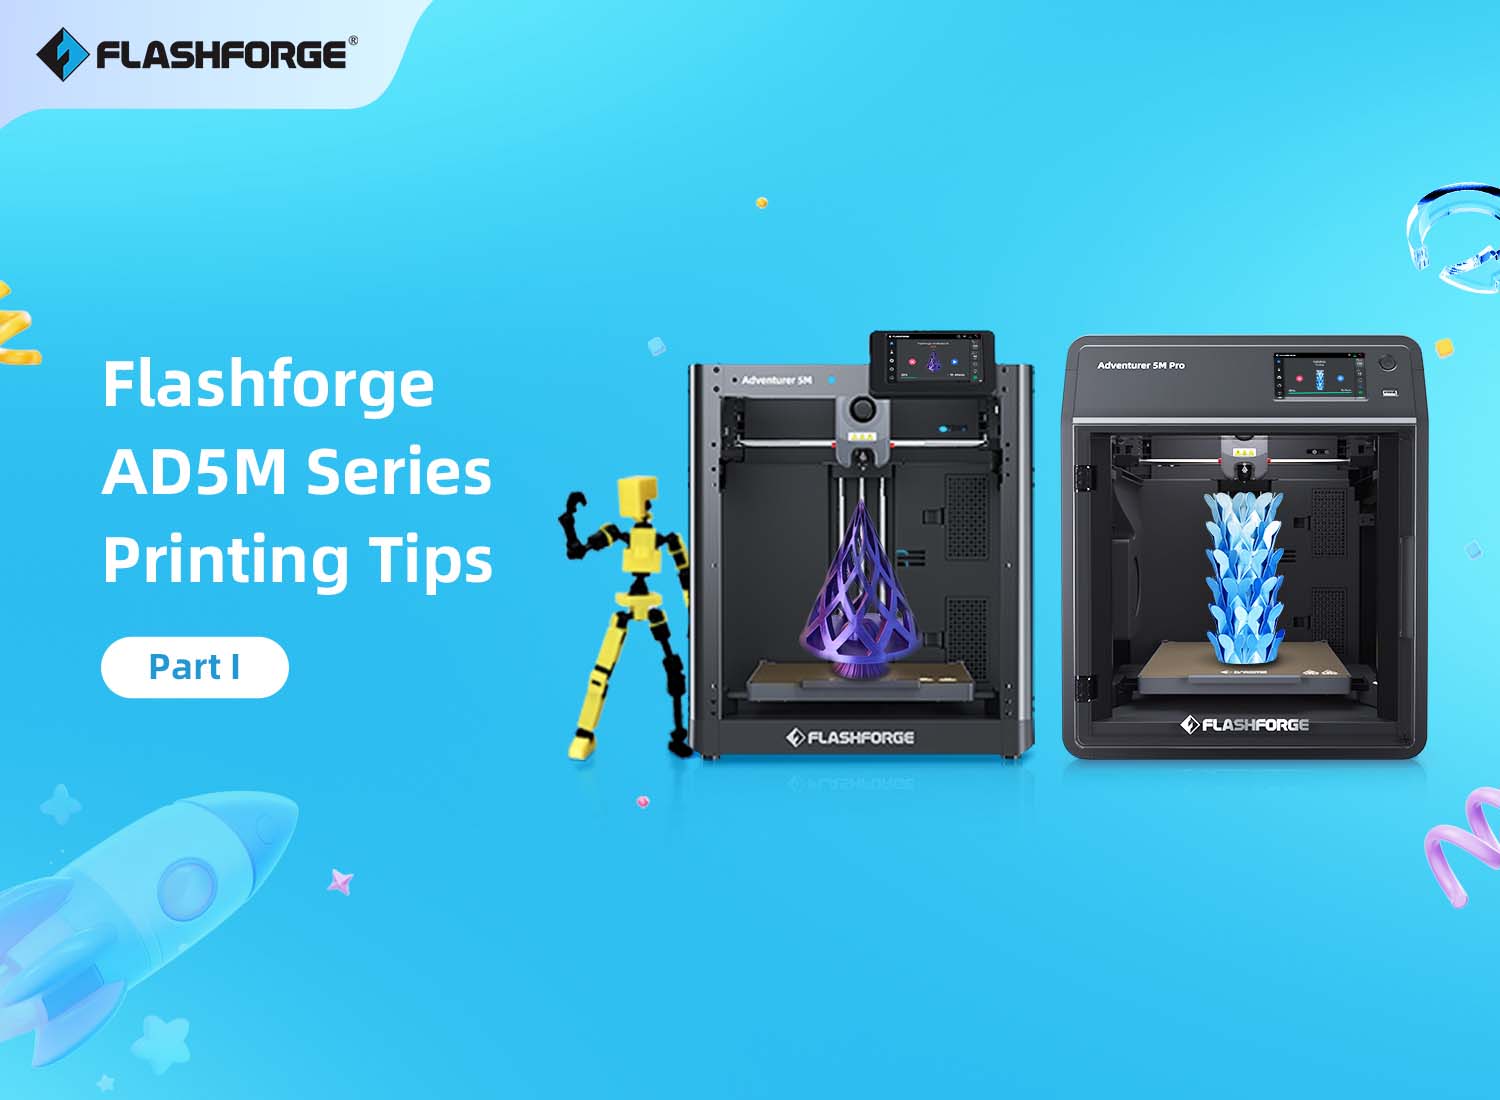
Want to get the most out of your Flashforge AD5M series 3D printer? Looking for ways to improve print quality, ensure consistent performance, and even capture amazing time-lapse videos of your prints?
In this guide, we’ll share four practical tips to help both beginners and experienced users optimize their printing experience. Let’s dive in! 🚀
Table of Contents
-
How to Capture Stunning Time-Lapse Videos with AD5M Pro
-
Adjusting Z-Axis Offset for a Perfect First Layer
-
Vibration Compensation Calibration: How to Know When It’s Needed?
-
The Right Way to Use Auto-Leveling & Vibration Compensation
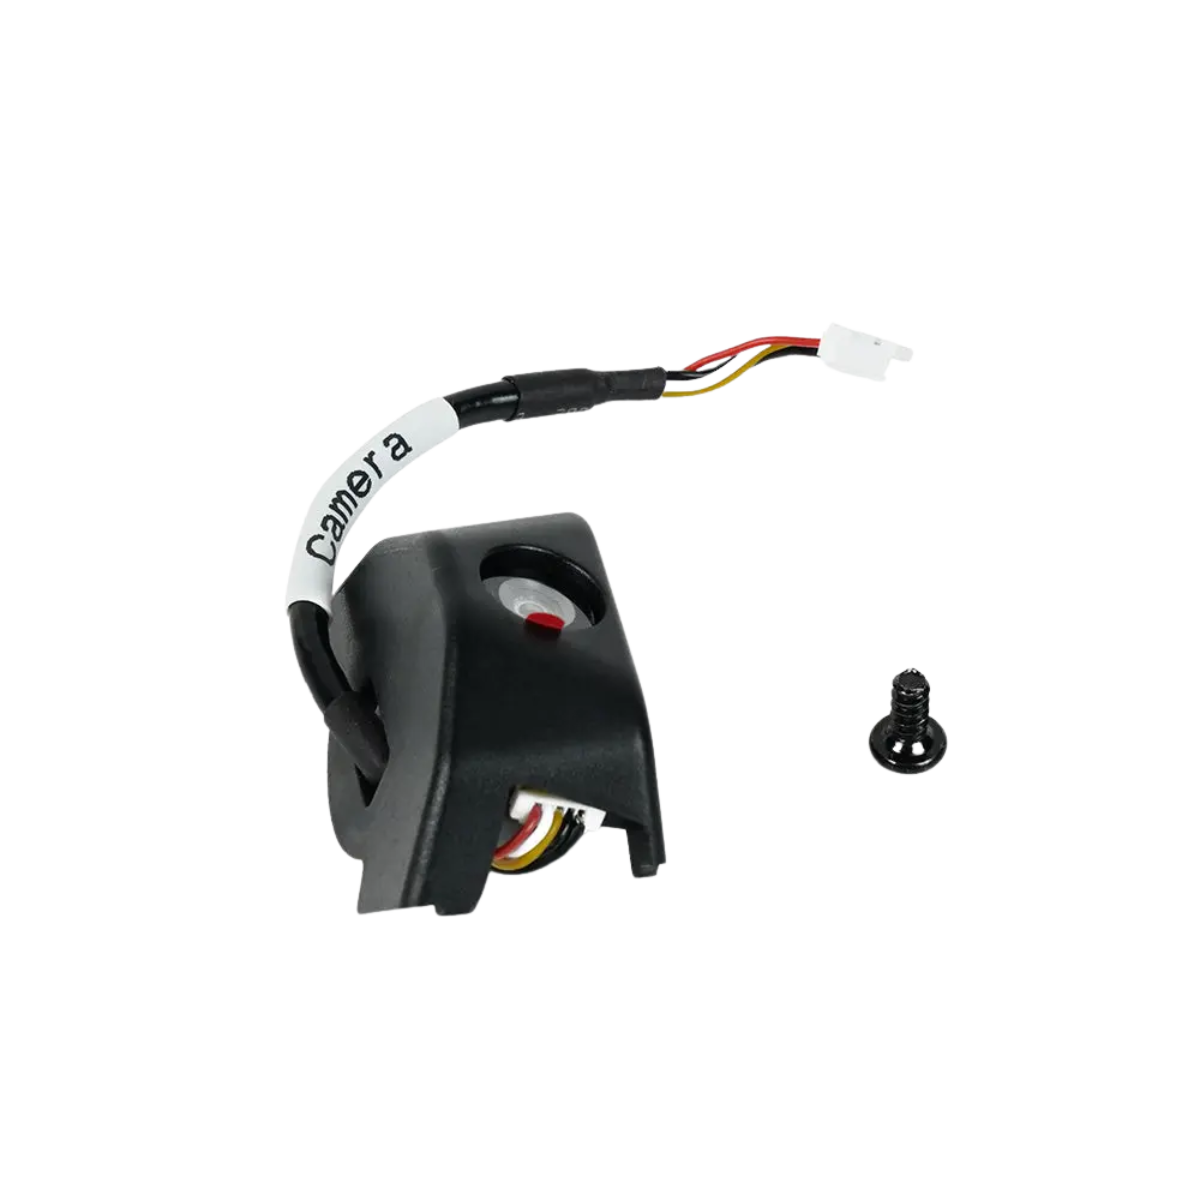
1. How to Capture Stunning Time-Lapse Videos with AD5M Pro?
Want to create a cool time-lapse video of your entire printing process? Follow these simple steps to make it happen!
Step 1: Access the Camera Monitoring Interface
-
Navigate to “Settings” and enter the camera monitoring section
-
Click the “Video” icon to enable both the camera and video recording, AS BELOW

Step 2: Start Printing, Let the System Record
Begin your print job as usual—the camera will automatically capture photos at intervals and stitch them together into a time-lapse video
Step 3: Save and Export Your Video
-
Once printing is complete, go back to the camera monitoring interface
-
Locate and preview your video file
-
Want to export it? Simply insert a USB drive and copy the file!

By following these steps, you’ll successfully create a timelapse video of your print. If the recording doesn’t work, double-check that both the
camera and video recording options are enabled. For the best results, optimize lighting to avoid shadows affecting video quality. Additionally, if you’d like to view individual snapshots taken during the print, you can find them in the
Video section of the interface.
2. Adjusting Z-Axis Offset for a Perfect First Layer
Achieving a perfect first layer is crucial for high-quality prints, as it ensures a smooth, well-adhered foundation for the entire model. While the AD5M series features full auto-leveling, factors such as component wear over time and inconsistencies in third-party filaments may affect print quality.
Based on extensive testing, we’ve compiled a few essential steps to help you manually fine-tune the Z-axis offset, which can significantly improve first-layer quality—especially when printing with different materials.
Choose a model with a large base to clearly observe the first-layer performance.
Step 2: Evaluate the first layer
If the first layer looks rough or overly squished, the nozzle is too close to the build plate. Reduce the Z-axis offset slightly.

If the first layer appears sparse or has gaps between lines, the nozzle is too far from the build plate. Increase the Z-axis offset slightly.
A well-calibrated Z-axis offset will result in a smooth, tightly fused first layer. Once you have found the ideal setting, save the adjustment, and the printer will apply it to future prints automatically.
A perfectly printed first layer should appear as smooth as paper, with each line fused seamlessly together. When the first layer is correctly printed, subsequent layers will follow naturally, forming a flawless final model.
3. Vibration Compensation Calibration: How to Know When It’s Needed?
If you notice surface ripples or inconsistent layer lines in your prints, it might be time to recalibrate vibration compensation!
When Should You Calibrate?
How to Recalibrate?
-
Access the Vibration Compensation Settings: Ensure the printer is idle, then go to Settings > Vibration Compensation.
-
Start Auto-Calibration: Enable the option and begin the calibration process.
-
Wait for Completion: The process takes a few minutes. Once finished, you can resume printing.
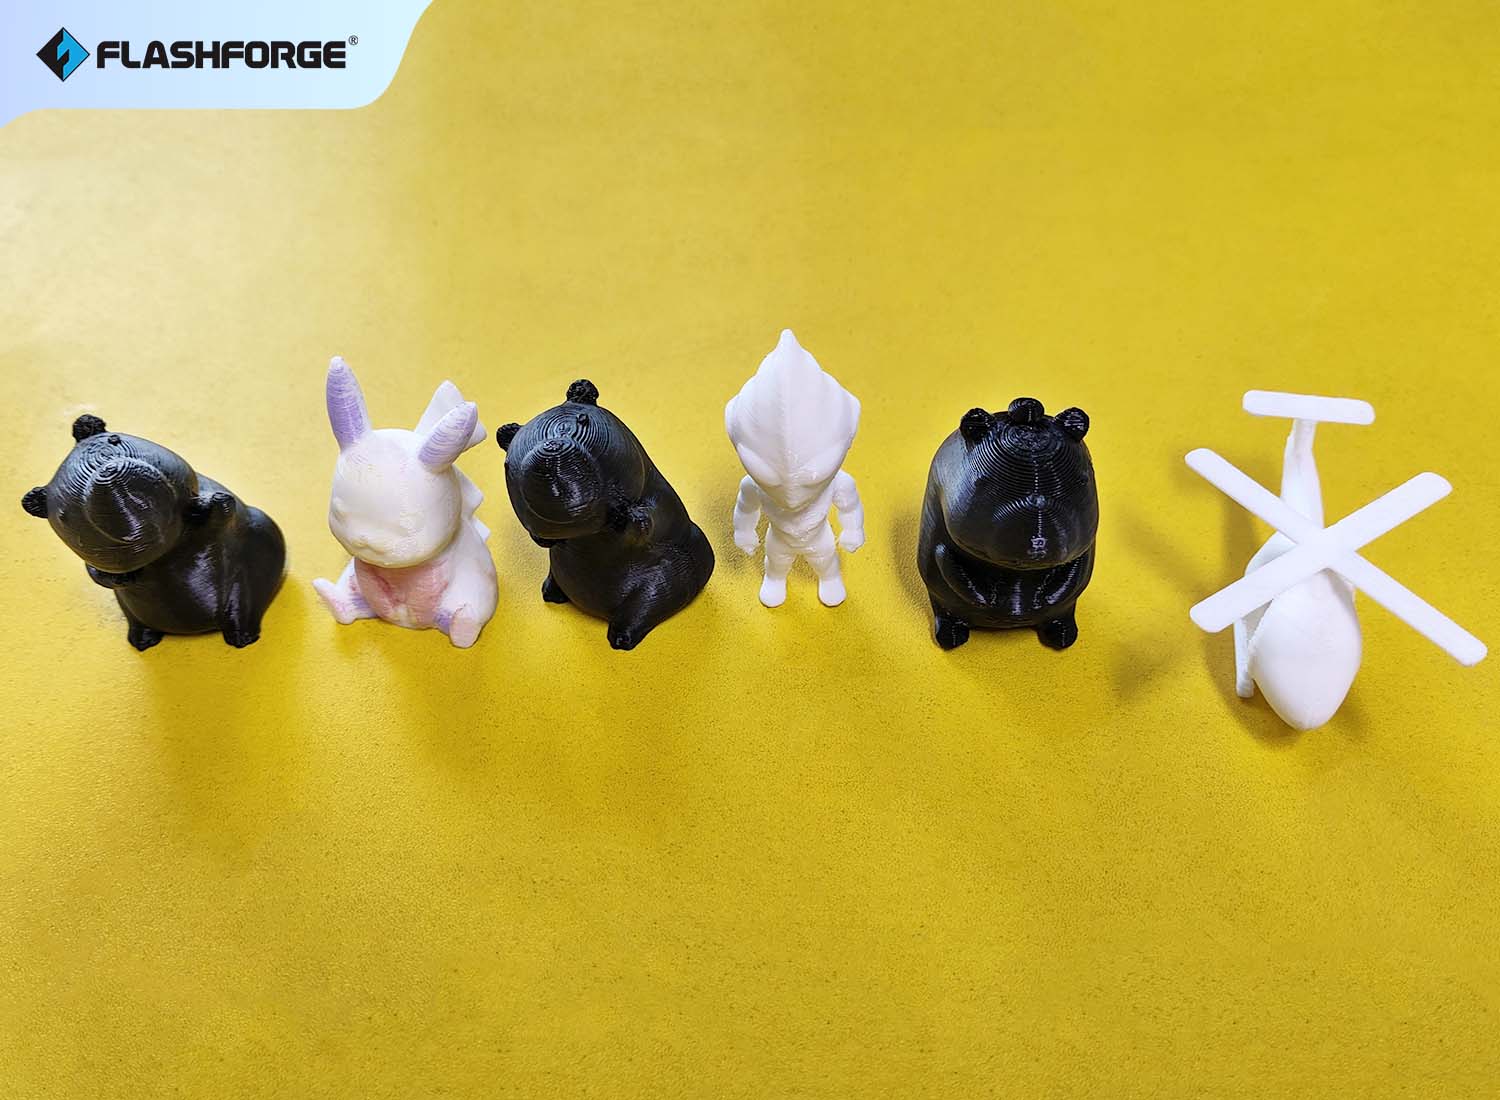
After recalibration, the surface quality of your prints should improve significantly. You can compare models printed before and after calibration—the difference in smoothness will be evident, with the recalibrated print appearing much finer and more polished.
If you observe rippling or excessive layer lines in your prints, recalibrating vibration compensation will help restore optimal print quality.
4. The Right Way to Use Auto-Leveling & Vibration Compensation
Bed leveling is a crucial step in 3D printing, ensuring that the nozzle maintains a consistent and appropriate distance from the build plate for a smooth and even print. Since leveling directly affects print quality, it is essential to perform this operation correctly. Overlooking key details may lead to poor results.
Key Preparation Step: Ensure a Clean Build Plate
Before starting the leveling process, always check that the build plate is clean and free of debris.
Step 1: Check the Build Plate and Nozzle
- Ensure the build plate is securely mounted.
- Confirm the nozzle is properly installed to avoid calibration errors.
- Print a test model to evaluate the initial print quality. As shown in the image, this is a perfectly printed layer with a smooth and detailed surface.

Step 2: Start Auto-Leveling
- Navigate to Settings > Auto-Leveling and select Vibration Test.
- Click Start to begin the process. The printer will automatically measure and adjust the nozzle-to-bed distance.
Step 3: Complete Leveling and Calibration
The process will take a few minutes. Once completed, the printer will automatically adjust itself for an optimal print surface.
Step 4: Test Print Quality
Perform a test print and inspect the first layer. A well-leveled build plate will result in a smooth, even first layer, ensuring high print quality. A properly leveled build plate lays the foundation for achieving flawless prints.
Conclusion
With these practical tips, you can maximize the potential of your AD5M series printer. By following this guide, you’ll be able to produce higher-quality prints while minimizing common printing issues.
What tutorial would you like to see next? Stay tuned for more in our upcoming articles!