Looking for Help?
Find answers to your questions
-
Adventurer 5M Series
- FAQ for Adventurer 5M Pro
- FAQ for Adventurer 5M
- Unboxing Your Adventurer 5M Pro
- Adventurer 5M Series Firmware Update Log
- Firmware Upgrade
- Troubleshooting: Network-related Issues
- Troubleshooting: Equipment Error Messages
- AD5M Series Troubleshooting: Equipment Hardware Issues
- AD5M Series Troubleshooting: Print Quality Problems
- Troubleshooting: Equipment Usage Issues
- Basic Setup
- Accessories List
- Unboxing Your Adventurer 5M
- Introduction to Adventurer 5M Series
- FAQ for Guider 3 Ultra
- Perform a firmware update on Guider 3 Ultra
- Firmware release note
- Troubleshooting for Guider 3 Ultra
- Basic setup
- Accessories list
- Unboxing your Guider 3 Ultra
- Introduction to Guider 3 Ultra
- AD5X Firmware Upgrade
- Print Without IFS
- Print via Orca-Flashforge
- Print Models from a USB Flash Drive on AD5X
- Print Built-in Models on AD5X
- Change Filament on AD5X
- Loading Filament
- AD5X Printing on the Build Plate
- AD5X Preparation before Printing
- Refill Printing
- Automatic filament loading
- Multi-Color Printing
- Connecting IFS to AD5X
- AD5X Basic Setup
- Accessories List for AD5X
- Quick-start Guide for Your AD5X
- Unboxing Your AD5X
- Introduction to AD5X
- Print Built-in Models on Adventurer 5M Series
- Preparation before Printing
- Printing on the Build Plate
- Creative Designs from our Users
- Test print models for HS PLA (print with ad5m series)
- From 0 to 250: The Rise of a 3D Print Farm
- How to Series Video on Youtube
- AD5M Series Slicing Profile
- Maker Series Video on Youtube
- Page Contents
- Printer Mod and DIY
Unboxing your Guider 3 Ultra
Table of Contents
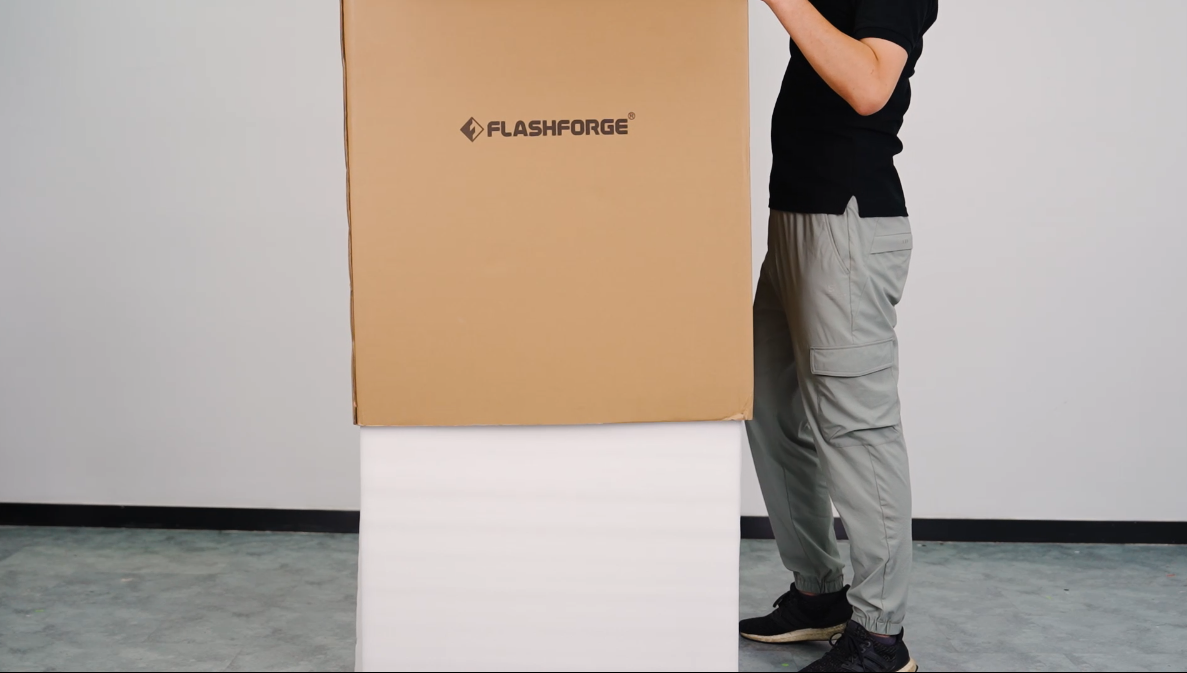
Step 1: Unboxing and Removal(For beginners, it is recommended to wear protective gloves for safety while unboxing.)
Open the top carton cover and remove the top foam. Take out the whole outer box from bottom to top and then remove the surrounding packaging foam.
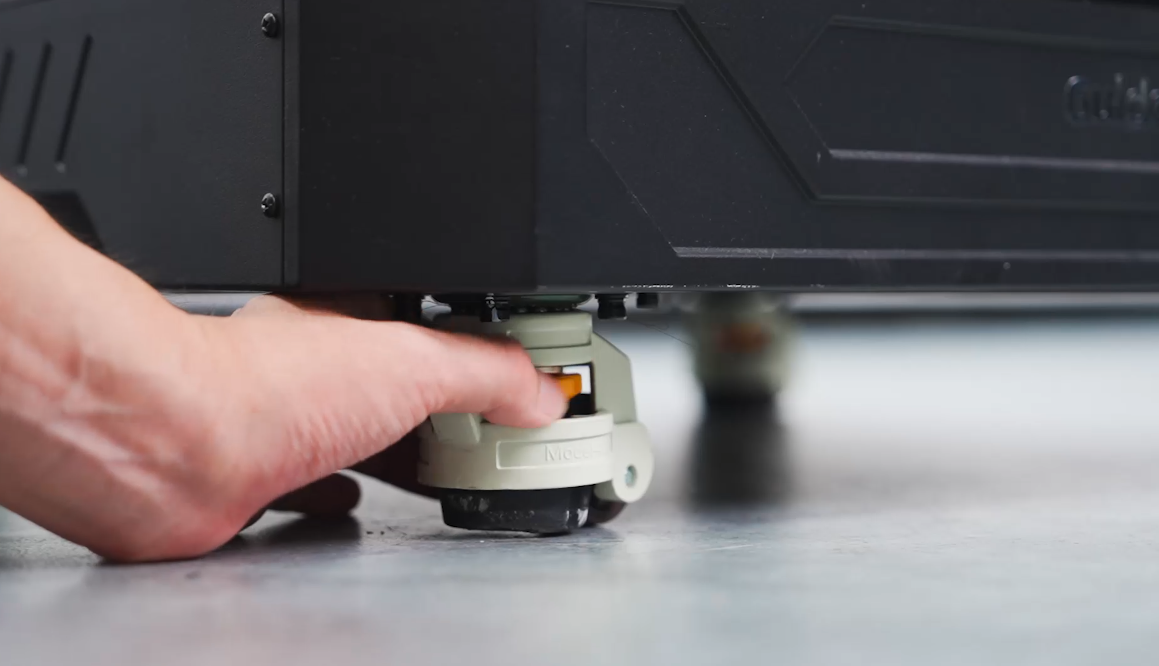
Step 2: Caster Fixing
Turn the yellow gear counterclockwise, the black friction block will descend to the ground, and then the caster is fixed.
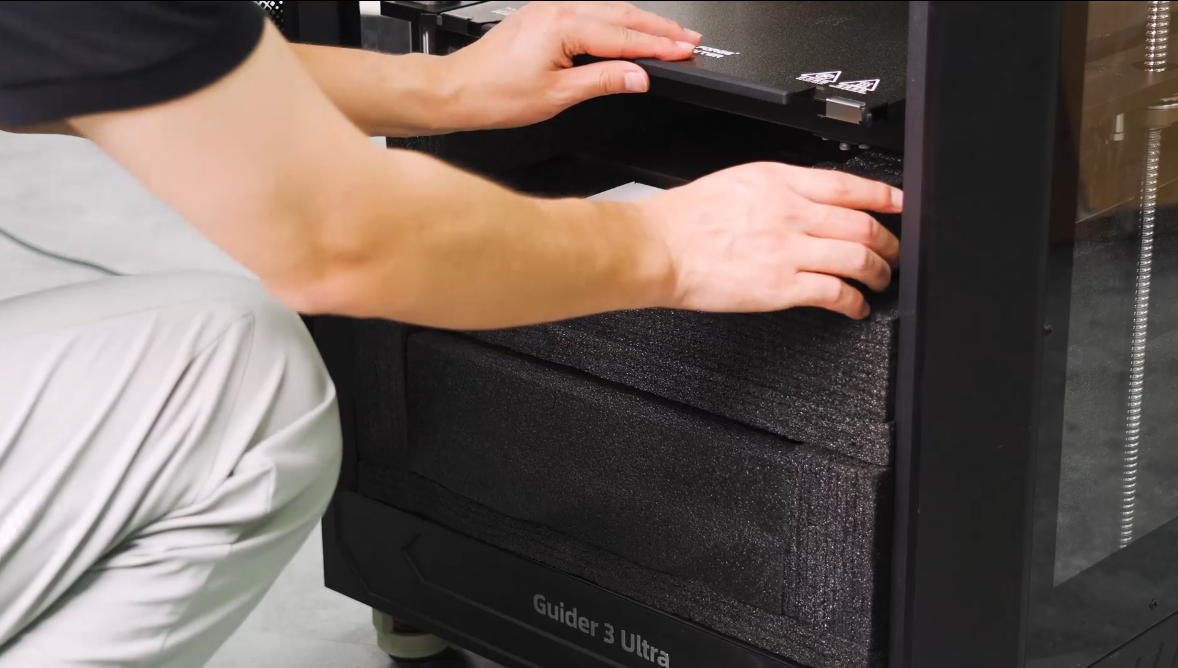
Step 3: Inner Foam Removal
Pull out the rectangular foam on the left and right sides. Then take out the two sets of foam underneath, which contain some accessories.
Step 4: Accessory Removal
Take out the accessories from within the foam.
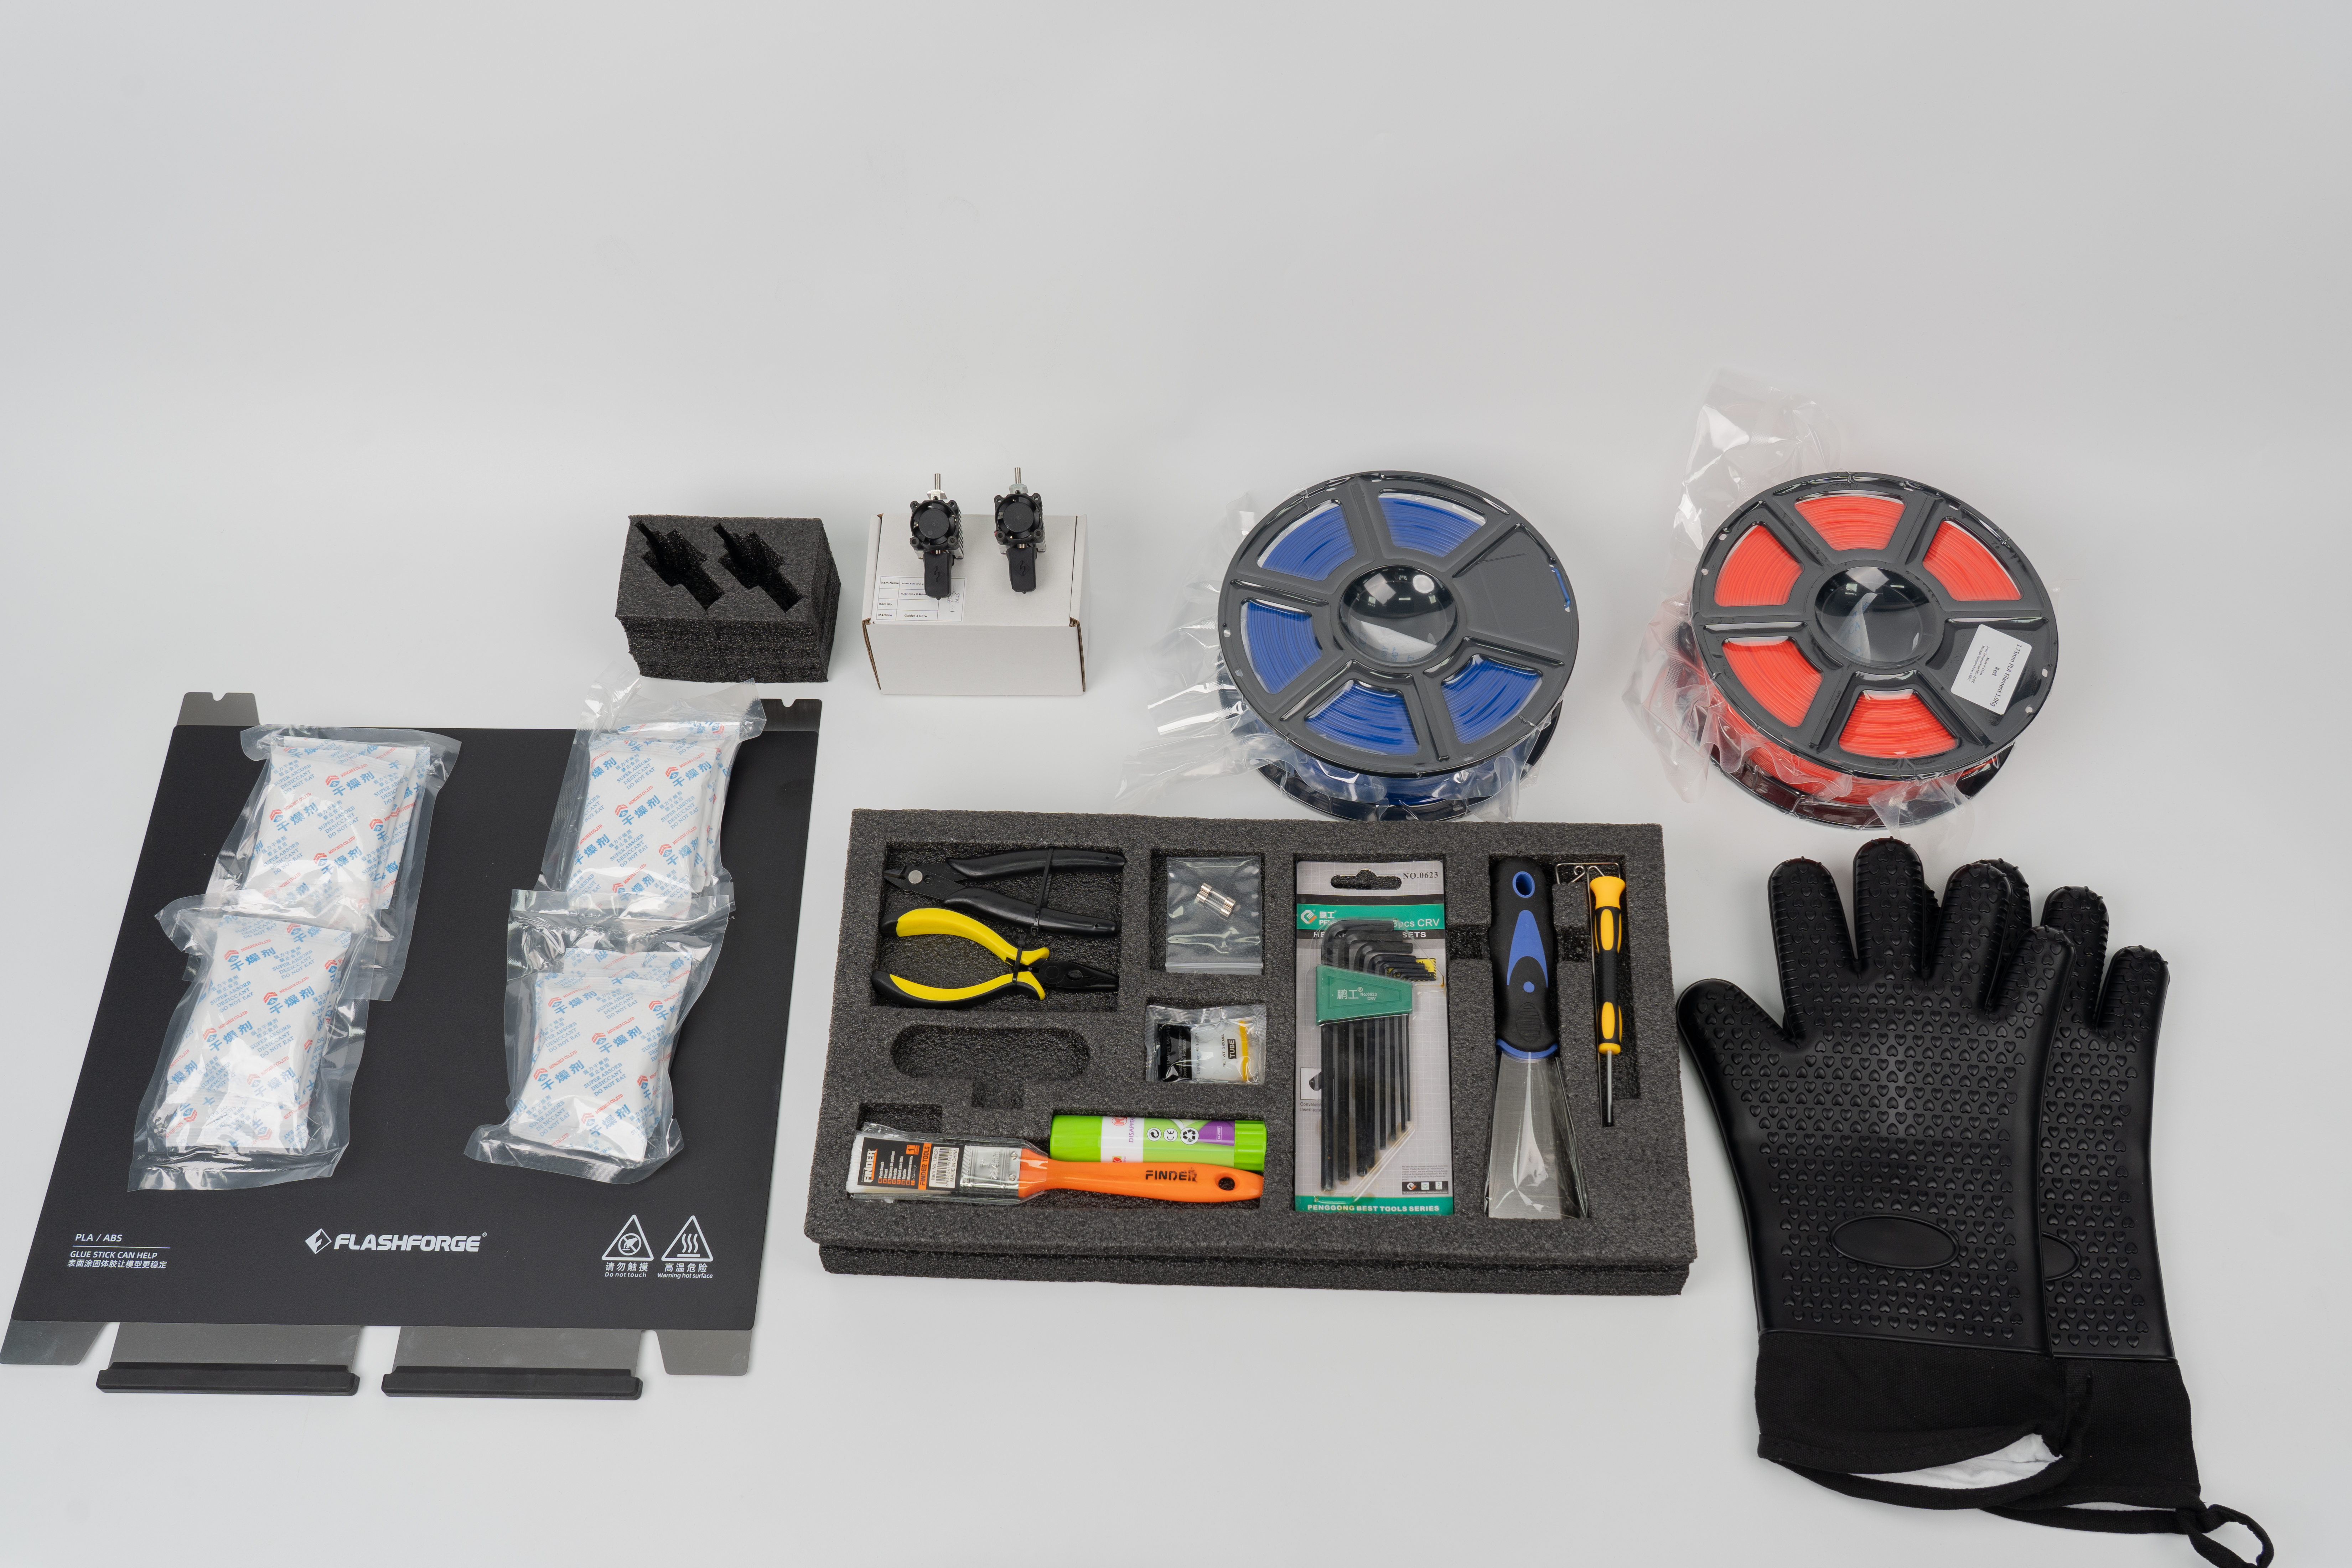
The accessory list is below. You can also check out detailed accessory table.
- Straight Screwdriver * 1
- Unclogging Pin Tool * 1
- Scraper * 1
- Allen Wrench Set * 1
- Tweezers * 1
- Grease (lubricant) * 2
- Brush * 1
- Glue * 1
- Fuse * 2
- Needle-nose Pliers * 1
- Diagonal Pliers * 1
- Heat Resistant Gloves * 1
- Flexible Steel Sheet * 1
- Desiccant * 12
- 3D Printing Filament * 2
- Nozzle Kit * 2
Step 5: Tie Removal
Using diagonal pliers to cut the tie securing the extruder, and then move the extruder to check if it moves normally.
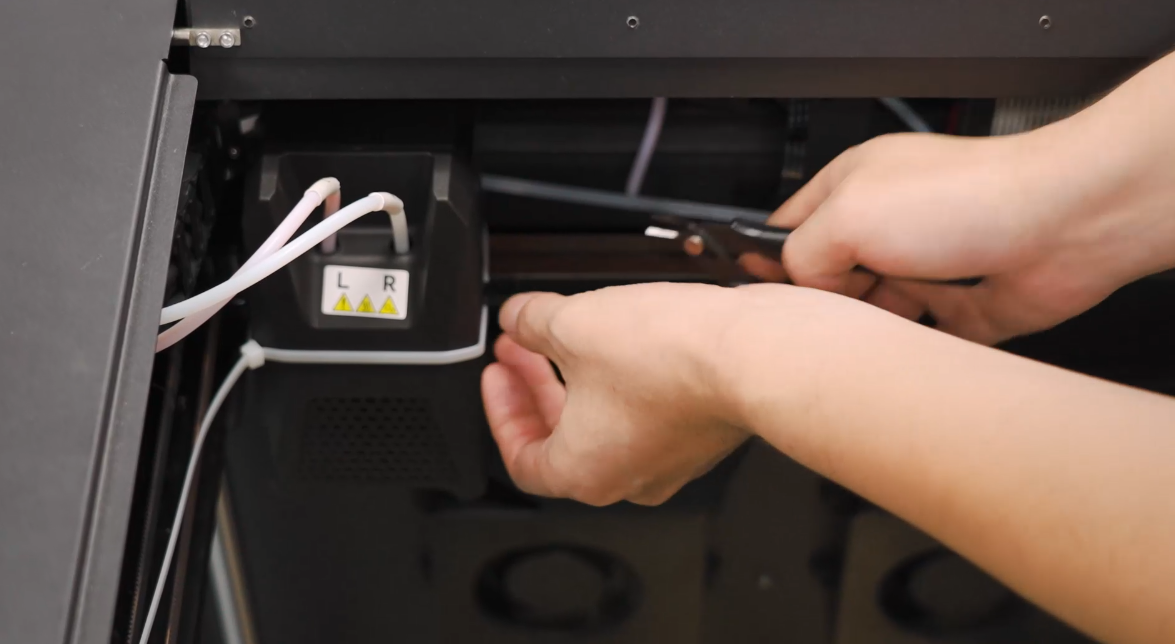
Step 6: Power Connection
Plug in the power, turn on the switch, press the start button next to the screen, and the screen lights up.
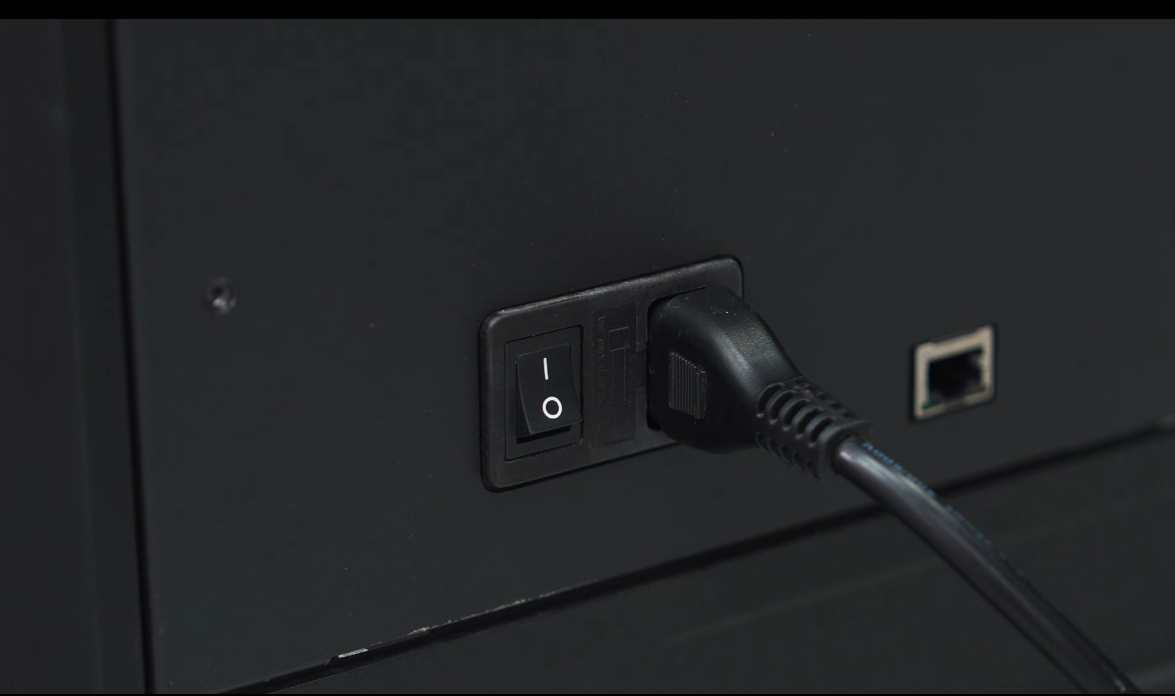
If there are any issues, please contact customer support. Enjoy your printing experience!
Unboxing Video
Watch the full unboxing video on YouTube:
Updated on 03 Sep 2024
What are your Feelings?
Thanks for your feedback
Newsletter
Promotions, new products and sales. Directly to your inbox.

Free shipping
Available for shipping within the continental United States.

12-years Brand
Trusted by over 1 million users worldwide.

Secure payment
Pay securely with Credit Card, PayPal, Klarna, and Afterpay.

Points & Rewards
Just 100 points = 5% off on filaments and accessories.


